

How to get easy design feedback on digital design proofs
What's inside this post: Hide
I’ve been designing for clients since 2006 and if there’s a single thing I understand 1,000%, it’s that sending proofs & getting feedback can be a challenge when our clients aren’t meeting with us in-person.
And the pandemic hasn’t changed that. Prior to Covid19 & social distancing, there were plenty of people freelancing & working independently for clients all over the world, myself included.
Even video calls weren’t as great as an in-person meeting, simply for the fact that they couldn’t literally point (with their finger) directly at something in the design & comment on it.
Instead it went something like this:
Client: “I’m not sure I like the size of my headshot here.”
Me: “Okay, I can change that easily, what page are you on?”
Client: “I’m on my bio.”
Me: “Awesome; which headshot would you like me to edit?”
Client: “The one near the…”
You get the picture! 😂 Even worse was copy editing on websites, since it’s not exactly like the client can go in & edit the type too before it’s live.
Client: “On the 2nd page, 3rd paragraph, 2nd sentence, –I want to change that to say, ______.”
or “on my services page, in the 2nd section with the bullet points ______, I want to change that 3rd bullet point to ______. –Not that section, the next one. Sorry! I forgot there was more than one.”
Ugh.
So imagine my utter delight, when I discovered there is one company who specializes in fixing this exact problem!
In Jan. 2025, Markup announced they are DISCONTINUING their free plan for everyone (including new & existing users) by February 26, 2025.
How to get feedback on digital designs, easily
I’m sharing because it’s so simple to use, for both the client & the designer/share-er.
You create an account, which is currently free BTW! Next, there’s a spot at the top, center for you to enter a URL for a website, or upload an image. Decide which type of proof you’re going to share, then paste the URL or upload the proof image.
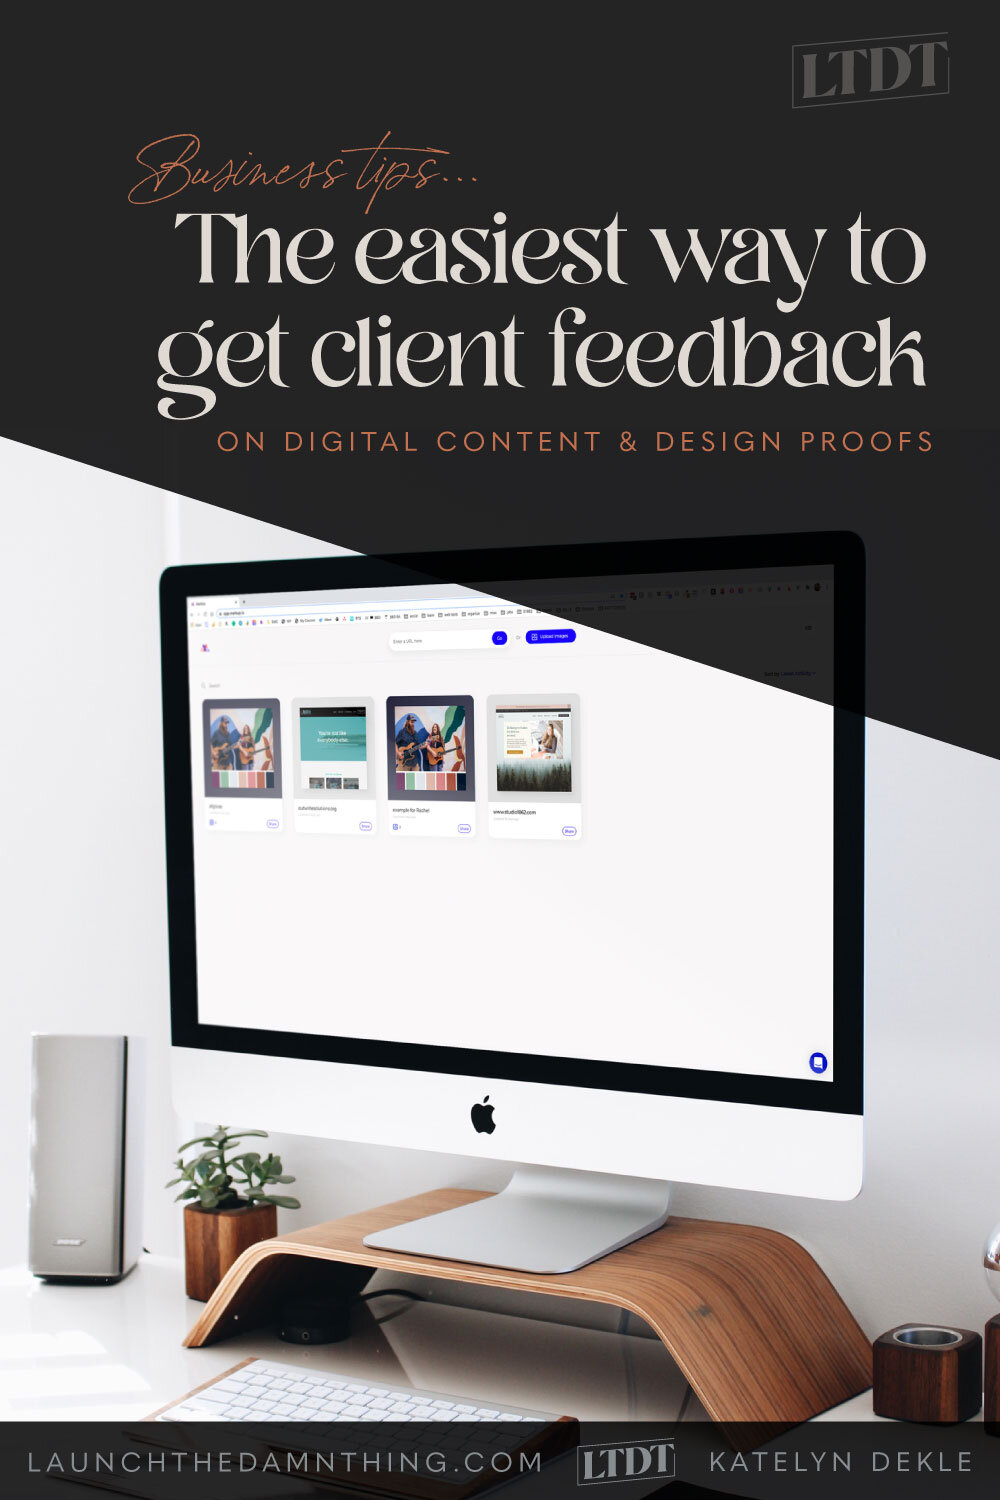
Now that you’ve added an asset to your account Dashboard, it’ll look something like this:
Adding websites
Now you’ve added your website by pasting in the URL in your Dashboard and the website’s been added as a thumbnail.
Next, choose the item you just added from your Dashboard. If you hover over it, you have 3 options: Share, Open, or Delete (little trashcan icon in the top right corner of the thumbnail).
Asset: Open, Share or Delete
Opening an Asset
Share an Asset
Delete an Asset
Clicking Open will open the item in a new window.
Clicking Share will open a popup to type in the email address of the recipient or grab a special link to send.
Clicking Delete will open a popup asking if you’re sure you want to delete. You must check the “All comments will be deleted” option before you can delete the asset from your Dashboard.
After clicking Open, it’ll take you to a new tab & you’ll see something like this:
Comment Mode
Browse Mode
It’ll open in Comment mode by default, but you can toggle back & forth between Comment and Browsing mode with the bright blue button at the bottom of the website preview.
One small caveat (which they’re currently working on a solution for, so hopefully it’ll be fixed soon!):
For unpublished Squarespace sites:
you might need the client to view the link/asset in Incognito or Private mode, in order to successfully enter the site-wide password & see the actual design.
OR make sure the client doesn’t have the Markup.io Chrome extension installed, in order to enter the password successfully.
The Chrome extension used to cause an issue with allowing proper password entry, –even if you’ve typed in the right password (it will tell you the password is wrong), in this case. So that’s a quick way to troubleshoot until they’ve fixed it.

in comment mode: Click to leave a comment at that specific spot
To add a Comment, simply make sure you’re in Comment mode, then hover over the spot you want to comment on, type & then click the button to Post (save). Comments are listed on the left as they are created.
You even have some formatting options per comment added.
Once the comment has been added it’ll show up in the left-hand column.
An extra fun feature that makes Markup really shine:
If you’ve downloaded/added the free Markup.io Chrome extension, a screenshot of that pageview will be added with the comment automatically, so the person editing later can see exactly the same thing the commenter saw, even if the page has changed a little since the comment was added.
As the designer, you can resolve comments your client has left simply by hovering over each comment, then clicking Resolve. You can also un-mark a comment as resolved, by switching to Resolved comments via the toggle, then hovering over it and clicking in the same spot to “unresolve.”
If active, the comment will leave a blue ⊕ icon on the page where a comment was left, in comment mode only (unless you’ve set them to also be visible in browser mode, in your settings).
If resolved, the comment will leave a greyed out icon instead of the bright blue.
Adding Images to Markup.io
When you add an image to Markup, you get slightly different options, so let’s take a look at that.
Here’s a color palette/photo collage I uploaded as an example. You can see some options across the top of the preview side:
image name (hover it & click the pencil icon to change it)
also shows you the image type & file size (not editable)
arrows to change pages, if you’ve added more than 1 page to this asset
zoom options (fit to window seems to be default, but there’s also Fit Horizontally, and percentage options)
a download option
a view in full-screen within the browser window, which hides everything but the image & still allows commenting
You can also click on the images in the thumbnail list on the right side to move back & forth between pages.
Click the blue ⊕ under the image list on the right to add another image to this asset.

Adjusting your Markup Settings
At the bottom of your Markup screen, you’ve got a little bit of settings or actions you can take.
The Markup logo will take ya back to your Dashboard
The Comment box icon will open or close the Comment drawer on the left-hand side of the asset’s preview screen
The Image icon will open or close the Image Thumbnail list on the right-hand side of the asset’s preview screen
The Settings gear icon will bring up 3 options:
send email notifications for changes to the asset
show the comment pins in Browse mode
add screenshot to comments
the “KD” will be the initials of the account owner
Share gives you the same options we mentioned earlier, but means you can share the asset from here too:
allows you to leave your own comments on the asset, before you share it with your client
What your Clients will see when you share an asset with Markup
The best part is that your client won’t need an account in order to use this tool with you. Here’s what they’ll see when you send them that share link or email invite.
When they open the link, they’ll see the asset mostly as you do:
View when Client first opens link
They have the option to continue as a Guest User (without having to create an account of their own for access) & their:
Name is required for Guest Users
Email is optional, but necessary IF you want to send notifications about asset changes
adding a revised proof to an asset, for example
Or they can choose to setup their own account & sign in, instead.
Adding Users to your Markup account
Back in your main Dashboard area, if you click the circle icon with your initials inside, and select “Account” from that drop down menu, you will have the option to add users to your account, which is helpful if you have a team that will all be using Markup with you.
Adding users to your account
Other Markup Settings & Features
Support chat
I think you’ll find that this web-app is SUPER user friendly for both parties, and perfectly simple.
However, if you do need some help, you can click the chat icon in the bottom right-hand corner to ask questions or review their help documents.
Comment replies
Not only can you both leave comments, but you can both reply to comments as well, creating an easy conversation wherever necessary.
Switch device preview
When you’ve added a website, in comment or browse mode, you can view the site in different screen sizes by clicking the desktop icon in the bottom left corner & choosing the size you’d like to switch your preview to.
Invite unlimited collaborators
Need 10 people to view this asset & work together to request edits? Sounds like a nightmare to me, but you can definitely do that with Markup and none of those people need an account in order to participate.
Create a markup from any website with 1 click
With the Chrome extension, you can create a new Markup asset with 1 click.
Pricing
Currently it’s all free, but paid plans are coming soon. See what they’ll be & what they’ll include: