

How to embed a GIF on your website
Table of Contents Show
First things first:
HOW do YOU pronounce this file format? Do you say gif with a “g?” Or jif with a “j?” This is a hotly debated topic, so I’m curious. 😆
In case your wondering: I always said G-IF, but it’s actually supposed to be pronounced J-IF, like the peanut butter brand.
…I’m still learning to adapt. 😂
A great GIF can help you smile, laugh or connect with the writer or website content you're viewing. It's especially helpful when words just aren't enough to convey the message you want to publish.
It’s a popular way –and one of my favorite ways– to display a visual of the feeling you’re trying to portray in the content, whether it’s a blog post, tutorial, explanation, FAQ –whatever!
Pretty much everyone loves a great GIF, right? But how do you put one on the page? Easy!
Prefer to watch than read? Jump straight to the video.
Embedding GIFs on your website
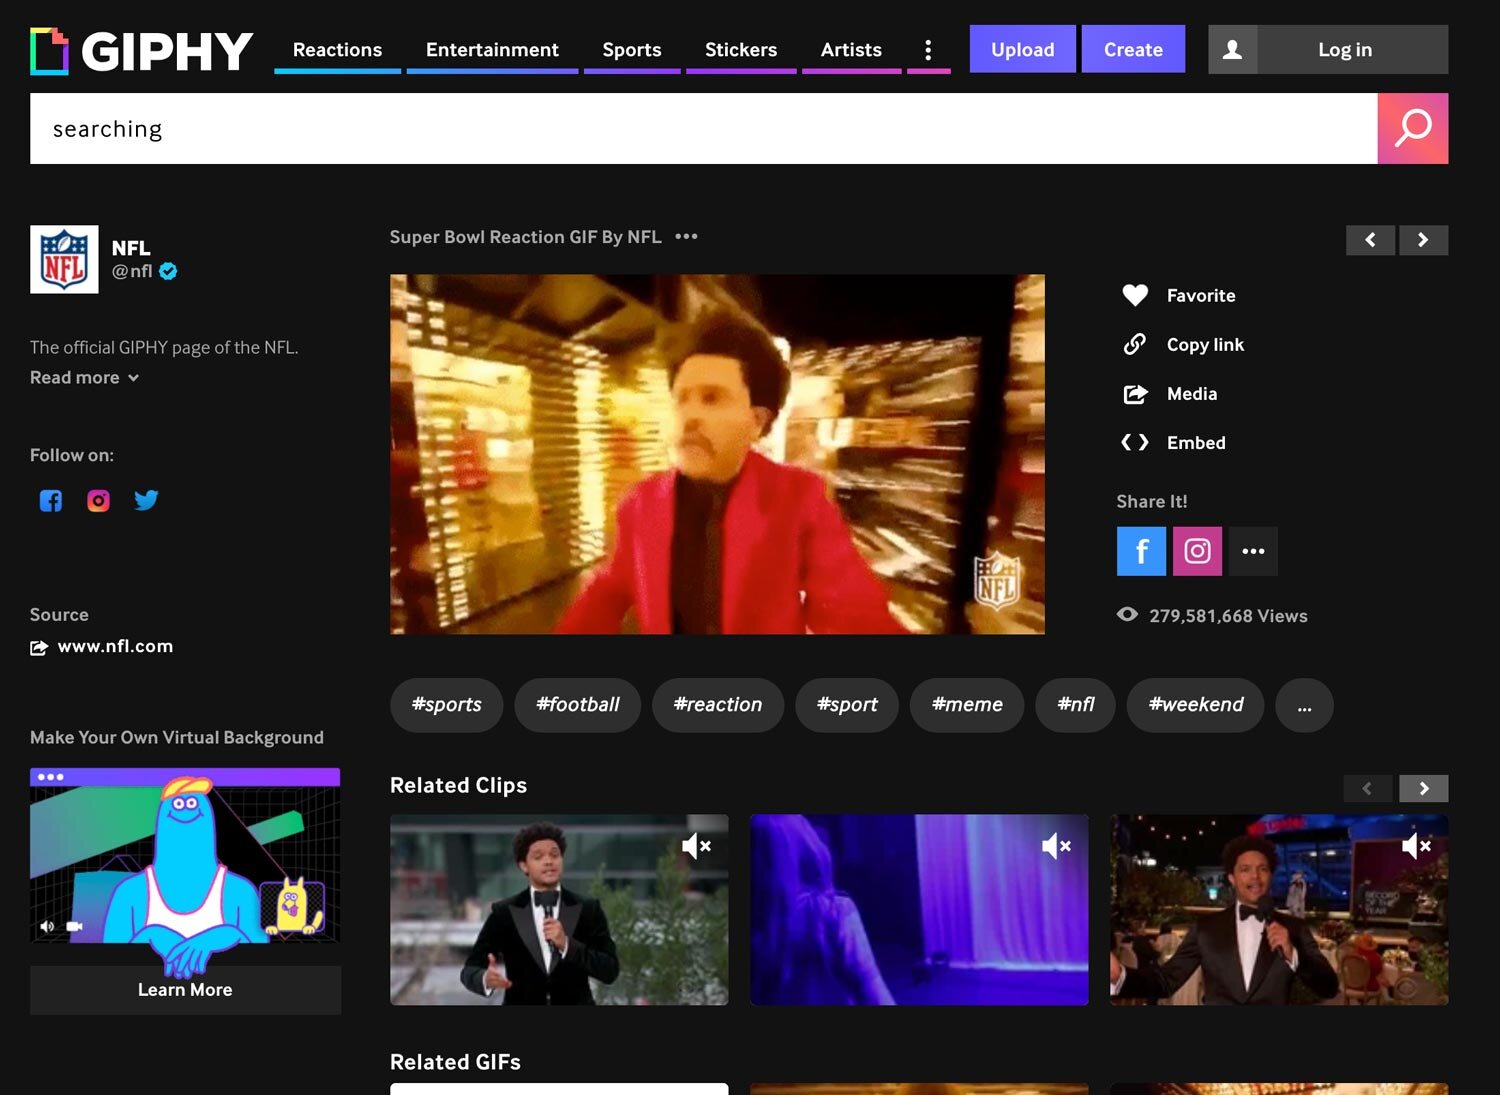
❶ Search Giphy
Search for the perfect gif at GIPHY.com
Once you’ve found one you love, click on it & open it in its own page to see the details for sharing & embedding.
It should look something like this:

📌 Pin it!
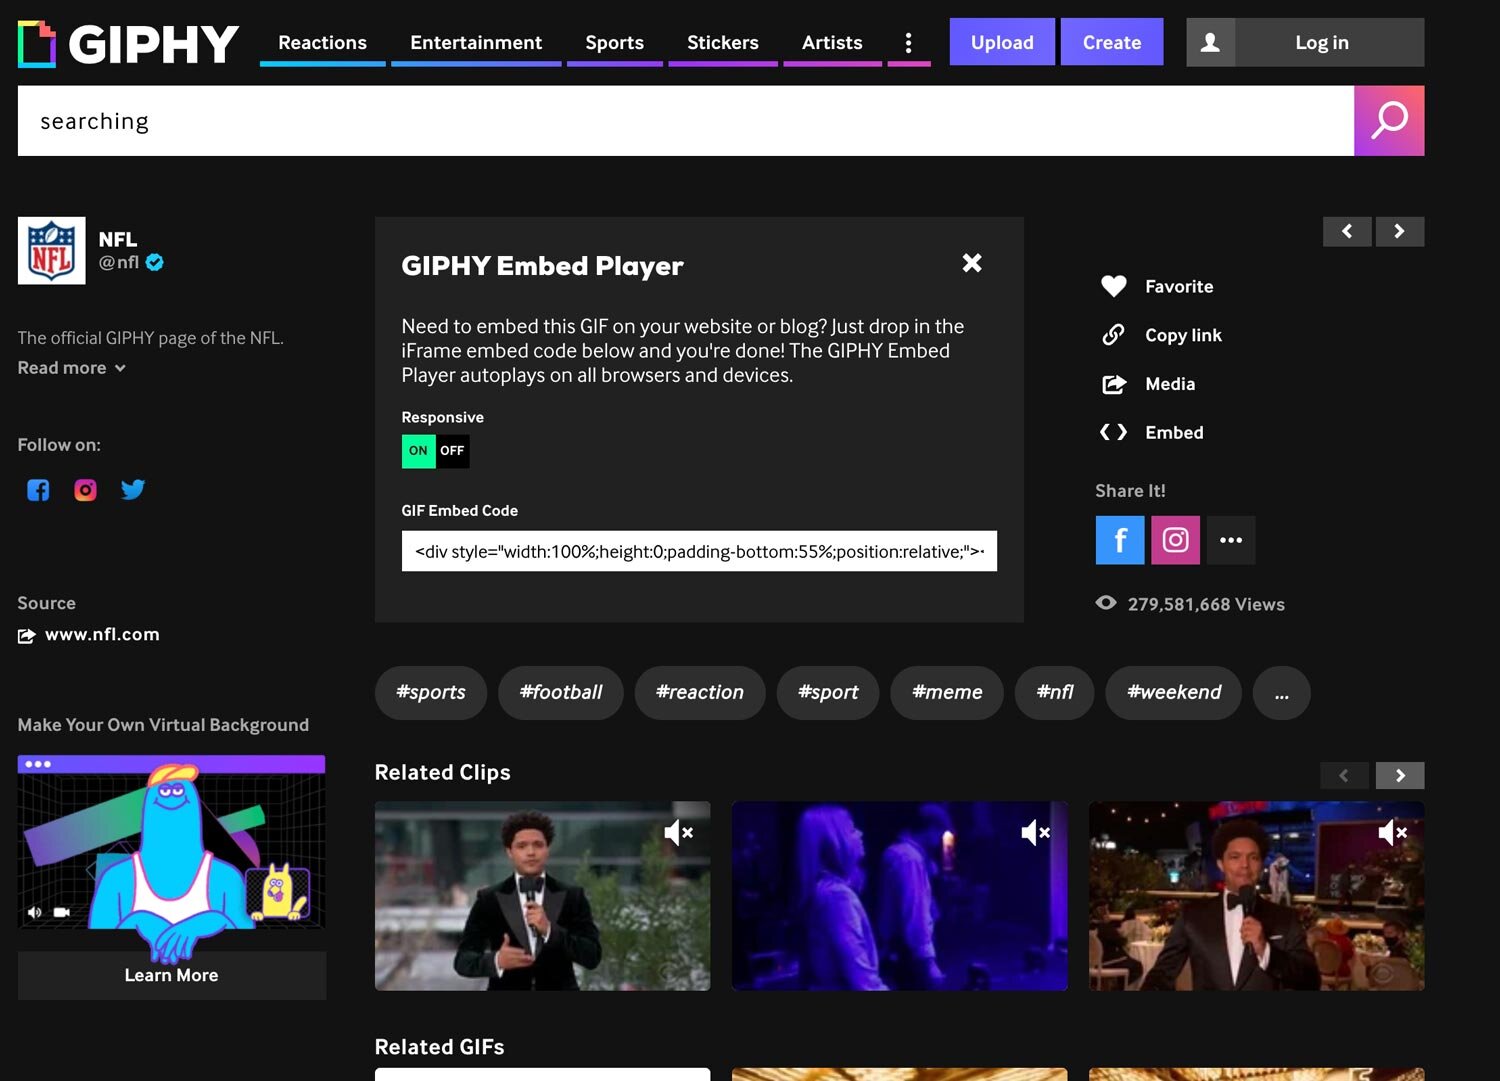
❷ Grab the embed code
Click “< > Embed” in the right-hand side bar.
In the pop-up, select “Responsive” then copy the code snippet it gives you.
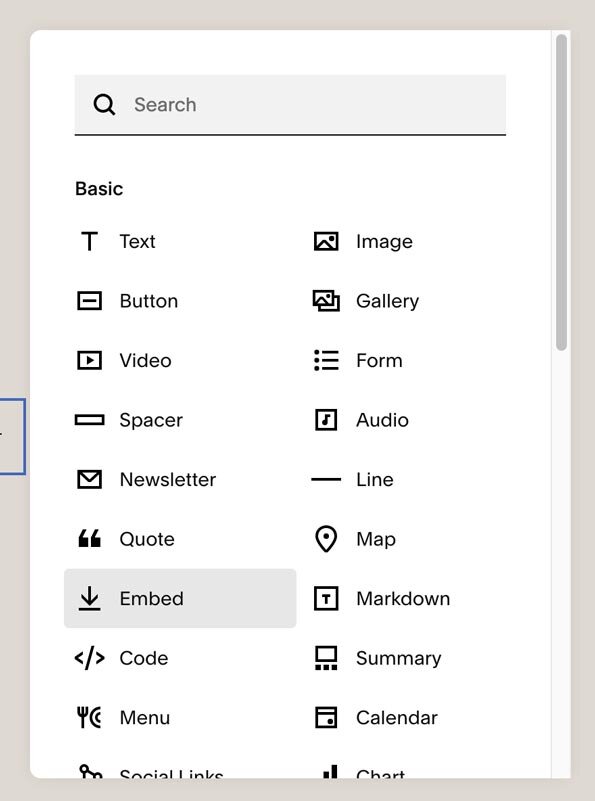
Then go back to your page in Squarespace and go into Edit mode if you aren’t already.
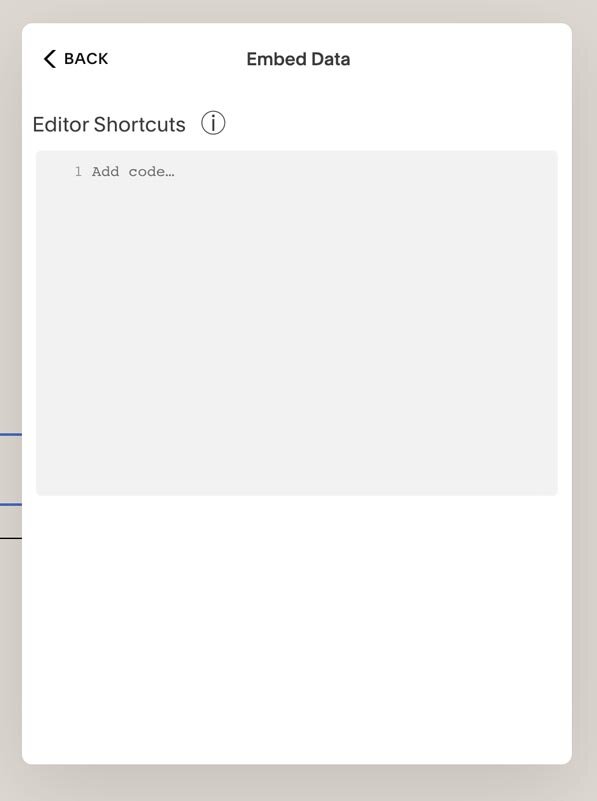
Add an Embed block, and click the code icon (</>) to the right of link field. Then paste in that code snippet you just grabbed from Giphy.
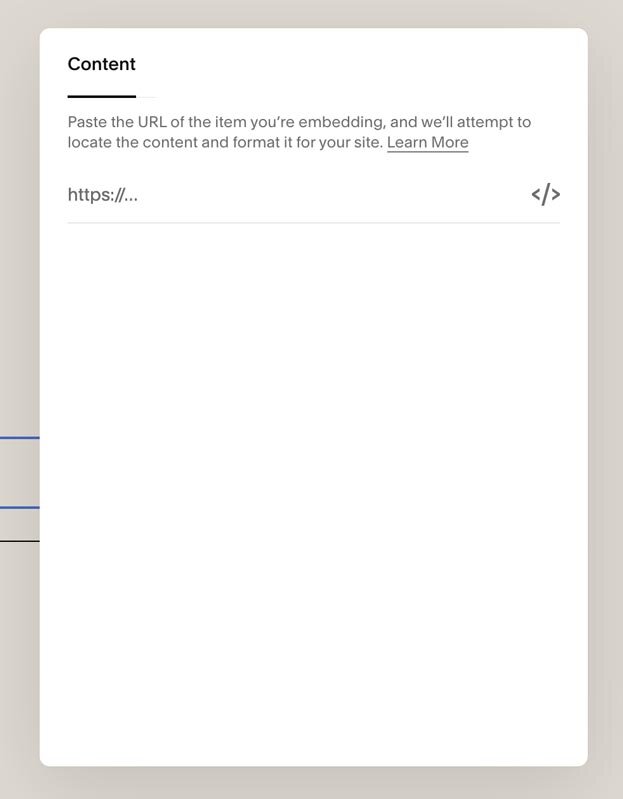
Click off the menu, then save the page to apply your changes. And admire the end result!
pro-tips:
Remove the “via GIPHY” text in the code, by literally deleting that text from the code snippet. The gif will still link to Giphy as way to give them credit for where you found it, but you won’t have to see the source text under the gif.
Resize the gif simply, but adding a spacer block to either side of the gif, then resize the spacer blocks as needed to make the gif in between smaller or larger.
Need to keep this tip somewhere safe?
Don’t just bookmark it to never look at it again! Save it in your PM tool!