How to embed a popup Calendly scheduler inside a Squarespace form
UPDATE (Sept 5, 2023)
With the new form updates Squarespace released this summer, this ‘hack’ won’t work. I don't think they've fixed it yet, because they're working on updating the forms in general so things are still changing on the backend of Squarespace. –Thus the error code you see after adding the code snippet to the form field.
The workaround would be to create a page in your Not Linked pages & embed the Calendly scheduler there for that appointment type. Then put the link to that secret page in the Form block's settings: post-submit → Redirect → link to that scheduler page –at least that way they can do both, submit the form & then schedule their appointment. 🙃
If you're a Squarespace Circle Member, you can see upcoming form updates here.
If you're not, I'll post updates in my release tracker when I have official dates & permission to share the info in detail from Squarespace. 😉
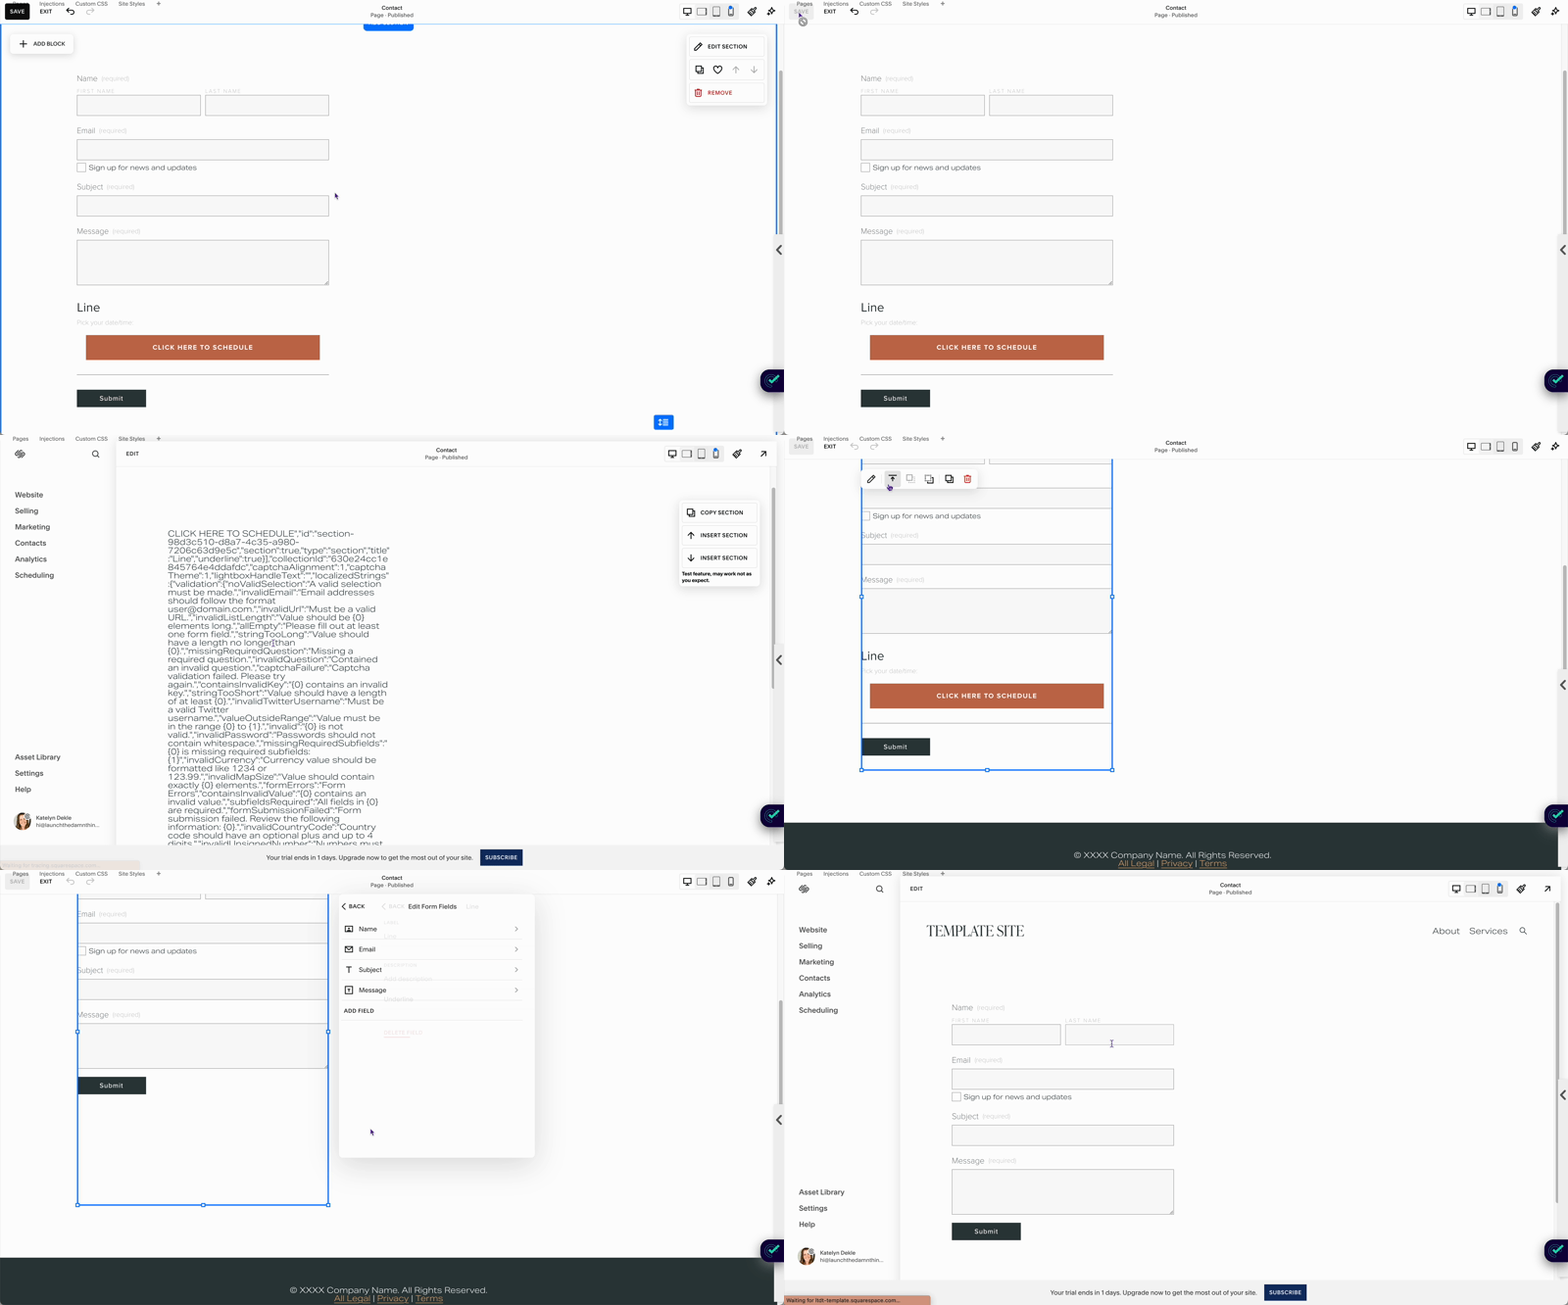
Example of the Error code you might see; will go away if you remove the custom code snippet.
📌 Pin it!
One thing I've learned about running a business is that it seems utterly mandatory to have like 5,000 different accounts, one totally-not-memorable password/login for each (or most of them), and you get subscription-ed to death. 😂 #perks
So, if you're like me and are always looking for ways to be nickel-and-dimed LESS by getting rid of apps & subscriptions you don't use or need, then you might be interested in Calendly for scheduling, because they have a totally free plan. (Side note, Acuity no longer does.)
But what if, you want a way to use Squarespace forms WITH an online scheduler, so people can schedule while they fill out that form? It's totally do-able!
I just did this for a client and realized it might be helpful info to know for you, too!
But let’s back up for just a sec, first:
Squarespace forms are actually pretty powerful, but they have 2 glaring issues that most people want fixes for:
Can I use it with my online scheduler?
Can I ask people to upload files in it?
The answers to both questions are tricky but yes, those things are doable with some tweaking.
Adding a file upload button is worth a post in itself, so I’ll save that one for later.
Today we’ll just tackle how to embed your scheduler popup form INSIDE your Squarespace form. This will allow them to fill out the Squarespace form fields of your choice, then click the link to schedule in a popup, then submit the form.
Click here to jump straight to the video (but make sure you look right above it to grab the code snippets & learn what to edit!)
Step-by-step tutorial + code snippets!
❶ Create the Squarespace form
First, you need to create your form in Squarespace. Add whatever fields make sense for this form’s use; they won’t affect the next steps.
❷ Grab the Calendly code
Pick the appointment type you want to have linked to the Squarespace form, then click Share.
From the tabbed options, click “Add to Website.”
Then click “Text popup” then click Continue.
From there, you’ll need to go through those customization steps including setting the button text.
When you’re done, on the righthand side, you’ll see the code it generates for you, and at the bottom of that side, click the “Copy Code” button.
❸ Add the code to the form
ADD THE STYLING:
Add this code to the form’s Label field (for whatever field you want to stick this button next to), or to the description if you want to see it all while you edit, then cut/paste back into the label field.
Give the field a title that makes sense to see right before the schedule button, here’s an example:
“Pick your date/time here:” [pasted code here].
<span style="font-size: 1em; font-weight: 700; letter-spacing: .1em; display: block; background: #c2704f; color: #fff; text-align: center; margin: 20px; padding: 20px 15px; "></span>
Then edit the values in bold to change the styling of the button. In case you aren’t familiar with CSS, here’s a quick cheat sheet for what specifically you can change in that snippet above:
change the font size, you can use pixels (px) or ems (em) here:
font-size: 1em;
font-size: 18px;
change the font’s weight (boldness) by selecting a value in the 100s, or type “bold” (not all fonts have a bold weight available):
font-weight: 700;
font-weight: bold;
change the space between each letter in the button text, you can use pixels (px) or ems (em) here:
letter-spacing: .1em;
letter-spacing: 1px;
change the background color of the button:
background: #000000;
change the color of the button’s text:
color: #ffffff;
change the margin (space) between the button & the field label:
margin: 20px;
change the spacing around the text, inside the button (the first value is the top/bottom spacing, the second value is for the left/right spacing):
padding: 20px 15px;
ADD THE CALENDAR:
After you add that snippet, paste in your Calendly Embed Code,
(Don’t use my Calendly Embed Code; it won’t work with your account!)
Then, if you didn’t already do this step when getting the Embed Code from within Calendly, edit the text in bold near the end to change what the button says:
<!-- Calendly link widget begin --><link href="https://assets.calendly.com/assets/external/widget.css" rel="stylesheet"><script src="https://assets.calendly.com/assets/external/widget.js" type="text/javascript" async></script><a href="" onclick="Calendly.initPopupWidget({url: 'https://calendly.com/CalendarName/AppointmentName'});return false;">CLICK HERE TO SCHEDULE</a><!-- Calendly link widget end -->*Pro-tip: you can remove these bits from the Calendly code:
<!-- Calendly link widget begin -->
<!-- Calendly link widget end -->
Which would look like this:
<link href="https://assets.calendly.com/assets/external/widget.css" rel="stylesheet"><script src="https://assets.calendly.com/assets/external/widget.js" type="text/javascript" async></script><a href="" onclick="Calendly.initPopupWidget({url: 'https://calendly.com/CalendarName/AppointmentName'});return false;">CLICK HERE TO SCHEDULE</a>OKAY, ALL TOGETHER NOW:
Here’s what both the styling & the embed code should look like together (but with your Calendly Embed code in place of mine) + the Form label in front of it:
Pick your date/time: <span style="font-size: 1em; font-weight: 700; letter-spacing: .1em; display: block; background: #c2704f; color: #fff; text-align: center; margin: 20px; padding: 20px 15px; "><link href="https://assets.calendly.com/assets/external/widget.css" rel="stylesheet"><script src="https://assets.calendly.com/assets/external/widget.js" type="text/javascript" async></script><a href="" onclick="Calendly.initPopupWidget({url: 'https://calendly.com/CalendarName/AppointmentName'});return false;">CLICK HERE TO SCHEDULE</a></style>And here’s what that snippet looks like in my custom form:


