

Editing the Customer Notification Email Design on Squarespace
Table of Contents

Finally! Squarespace designers everywhere can stop editing the HTML to make simple edits to these emails! 🙌🏻
Want to know what’s possible with this update & when you’ll have access? Keep reading! 👇🏻
Do I have access to this new feature?
It’s currently available to all NEWLY created sites, starting on Tues. Sept 22, 2020. That includes a newly duplicated site, if it’s been duplicated on/after that date.
In the coming weeks, they’ll give us access to upgrade existing sites so we can use it too. So be patient, my friend! Our access is coming soon!
How do I use it if I do have access?
Let’s take a look, shall we?
To get there, you log into your site, navigate to Commerce, then click on Customer Notifications, just as you would’ve before.
When you get there, it’ll look like this:
You’ll now have access to Global Email Styles, which sets the style for all notification emails your customer will get, from using this site’s shop.
If you click the small “EDIT” button just above the right-hand side of the email preview area, you’ll go into the editor mode where you can make changes to the global styles.
After I’ve made those changes, mine looks like this:
Click Save when you’re done to apply the changes.
Make sure you also edit the Business Settings (listed under the Global Settings), since those details are part of the global notification email settings in this area. (That may include your business address, business name, etc.)
Now you can go through the list of all the email types in the left-hand menu & edit as needed. The global styling you chose at the beginning will apply to everything.
Start with Global Orders, then go through that whole list, making edits as needed to each of those options.
Once done, come back & go through Point of Sale, and so on.
Work your way through this entire menu system to make sure everything is how you want it.
In the email editor here, you can add new sections & edit the content as well, and that content can be added in the same way you’re used to adding new sections in 7.1 so that should feel familiar to you if you’ve just started a new site on 7.1.
For those of you on 7.0 and no experience on 7.1, here’s what that will look like:
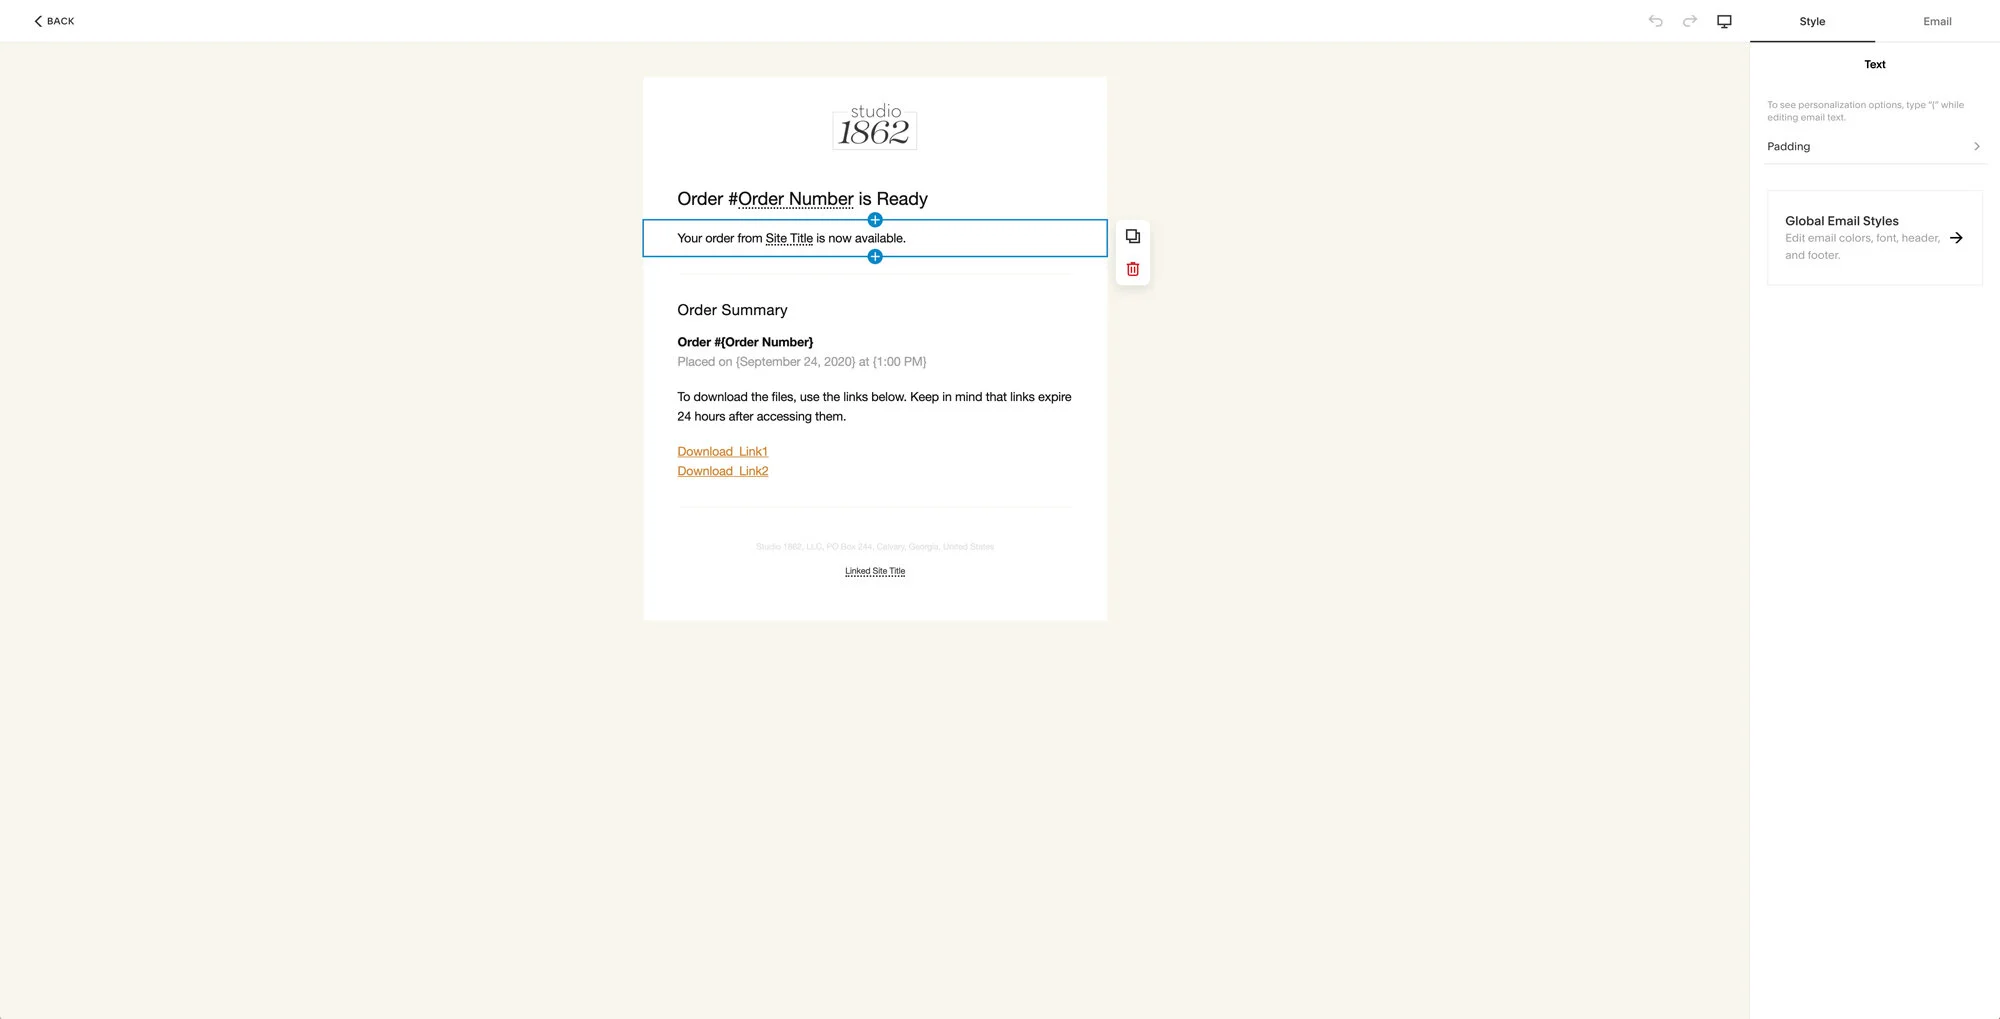
When you hover over each of the sections, it’ll be highlighted in blue, with a ⊕ icon above or below it where a new section can be added. Just click that ⊕ icon to add a new section, then use the styling menu on the right of the email preview area to add content for the new section.
Save your changes when you’re done with each email type.
Voilá!
MUCH better, wouldn’t you say?? 🥳