

Why you need a custom Error 404 page + how to make it
Table of Contents Show
As a consumer/reader, it can suck to get all revved up to read something you saw on Pinterest and then realize after clicking through that the link is broken.
What if you really needed to read that blog post? Or try making that DIY-thing you've been eyeing?
Cue the sad, nasaly-sounding trombone noise: mwah-mwah-mwahhhhh 👎🏻

I've had my website on Squarespace since 2016, and I've changed my domain 3x since then, I think? That gives me ample time to screw up & develop a long list of broken links if I'm not careful.
But that's kinda normal. It's not great, but it's definitely not unheard of.
The longer your site has existed, the more pages you’ve created, edited, removed, added, etc. Somewhere along the way, a URL will be mistyped or a page has been removed because it’s no longer relevant & you couldn’t track down every single link to it, etc.
Websites can have broken links. It’s kind of inevitable, the longer your site is around.
Yes, you should fix as many of them as you can find or Google may penalize your site in its search rankings, but for the ones you aren’t expecting or don’t know about, –that's why it’s great to have a customized landing page.
Luckily for you, Squarepsace makes this SUPER easy to swap out their crap system default Error 404 page layout to something awesome that you can create yourself!
And I’ve got a few tips for fixing broken links, too. So let’s get started!

How to create your own ‘Oops!’ page for broken links
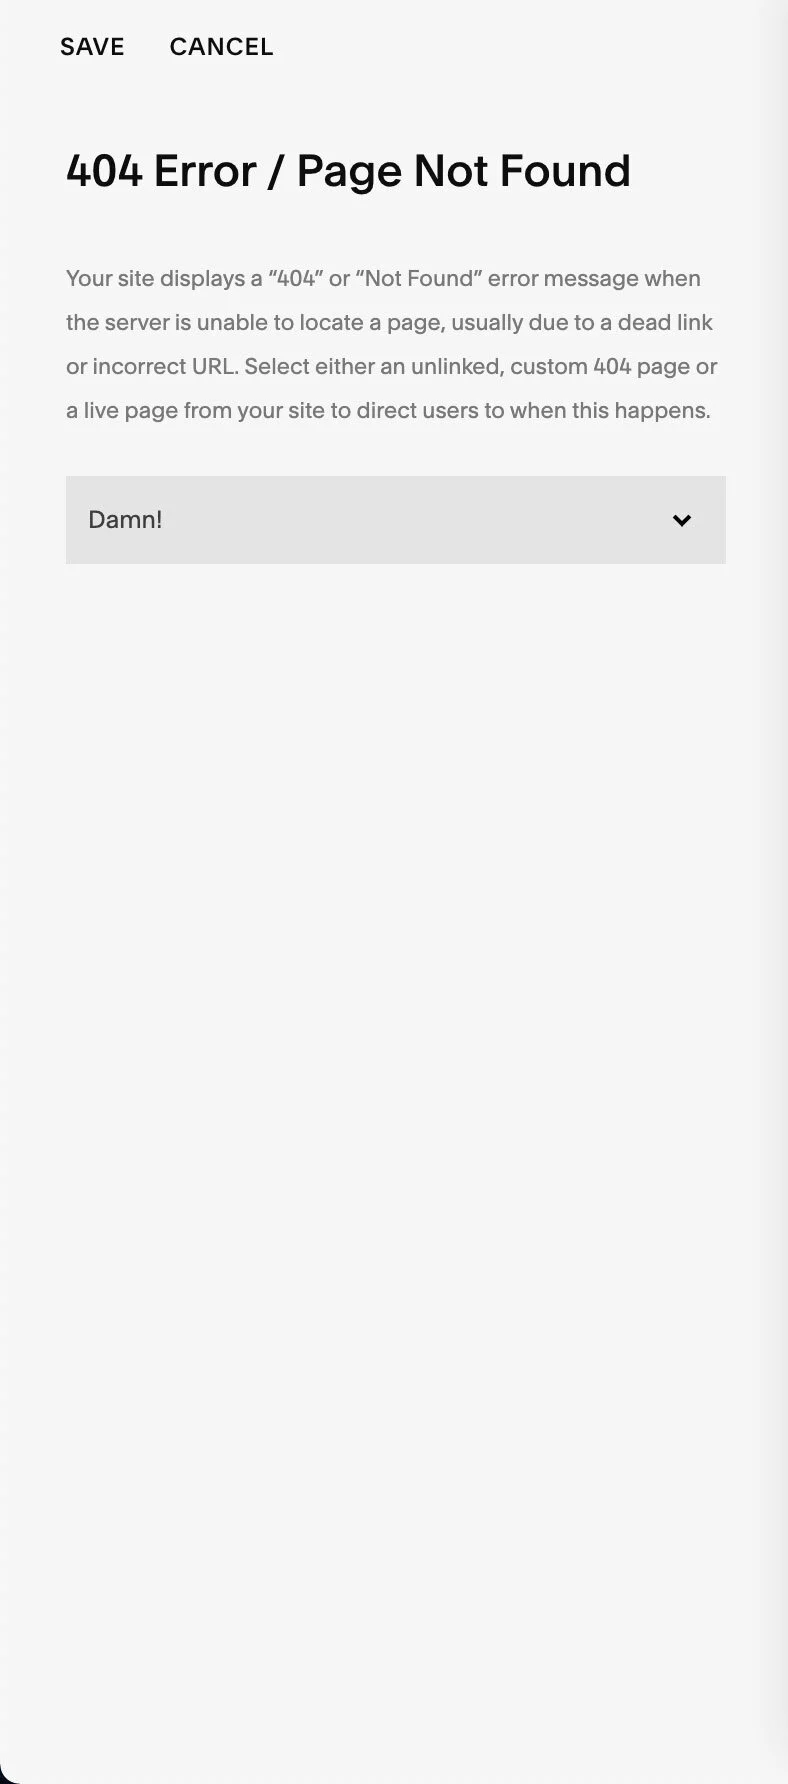
Simply create a new page in Squarespace, name it something relevant to the purpose it will serve. Though, I think mine is actually called “Damn” 😂 so, some personality is okay.
What do I need to add?
EXPLANATION
At the top, put some kind of generic explanation about the broken link that can apply to all situations. You can choose to be straightforward or cheeky, but make sure whatever you write here will resonate with your audience.
A SEARCH BAR
Give them a simple, quick & easy way to try & find what they’d been looking for to start with. If there’s not one, and you don’t have one in your header or footer, they’re more likely to give up & bail. You don’t want that!
LINKS
Make sure you add links to your most popular content, items in your shop, recent posts, –whatever makes sense for your business & how your audience uses your website most.
You can use Summary blocks to pull in recent posts or shop items automatically, or a product block to plop your best selling shop item right there on the page with (or without) its very own Add to Cart button. Get creative!
I also have a quick links section in mine, with popular page links typed out for quick & easy access.

How to make that custom designed page, your Error 404 page
Once you’ve made all your changes (you’ve been saving along the way too, right? 😬) hit Save. Then make sure you know the page’s title.
If you’re not sure, go to your Pages menu, and look for that page. Whatever title is showing there is the title you gave it. If you want to change that, hover over that page in the list, then click the ⚙️ gear icon to get the page settings window popup where you can change it.
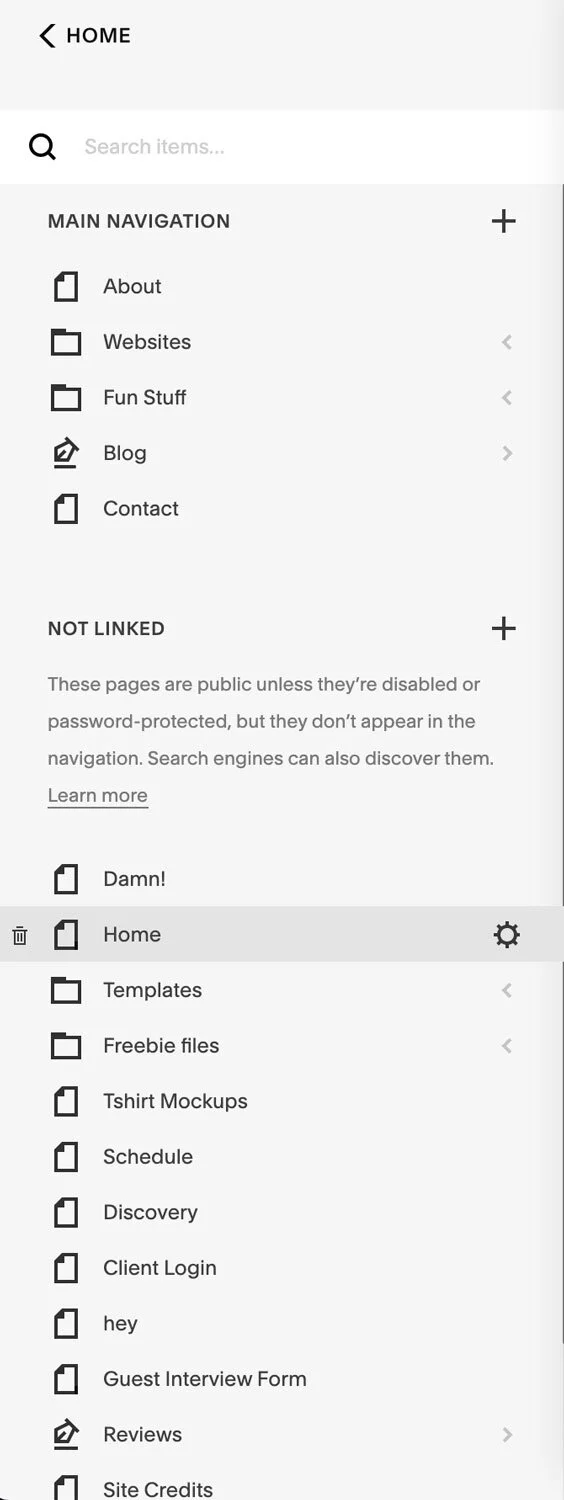
Hover over the page to click the gear icon ⚙️ for that page’s settings
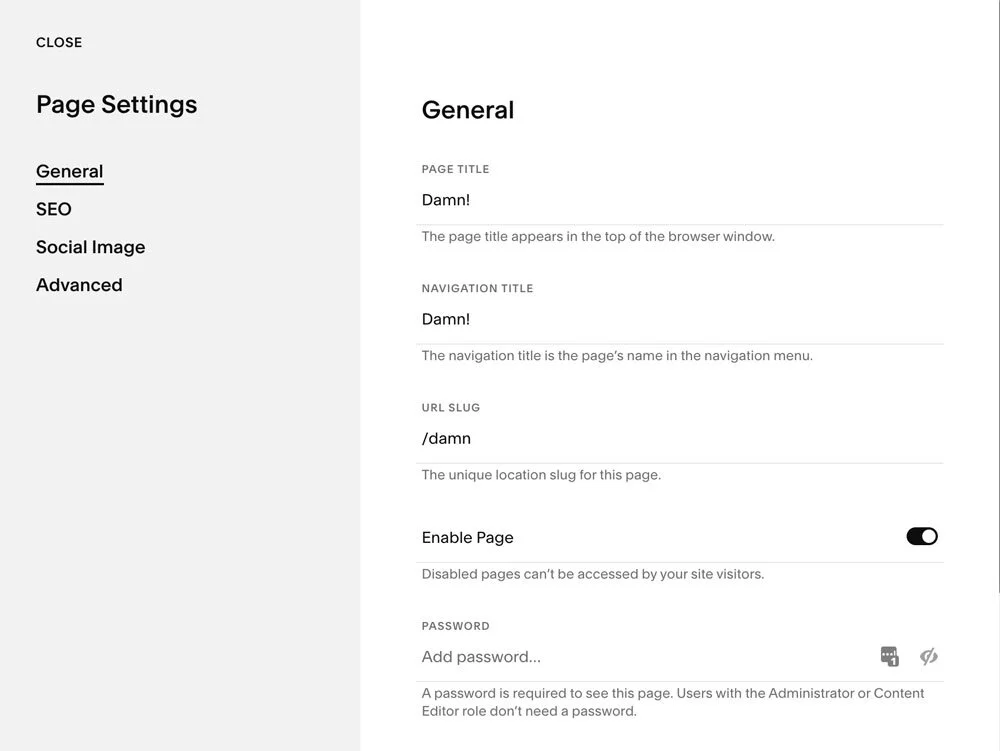
Here you can change the Page title (what you see labeling the name of that page), the Navigation title (what would show in the text if you added this page to your Header or Footer navigation links, and the URL slug.
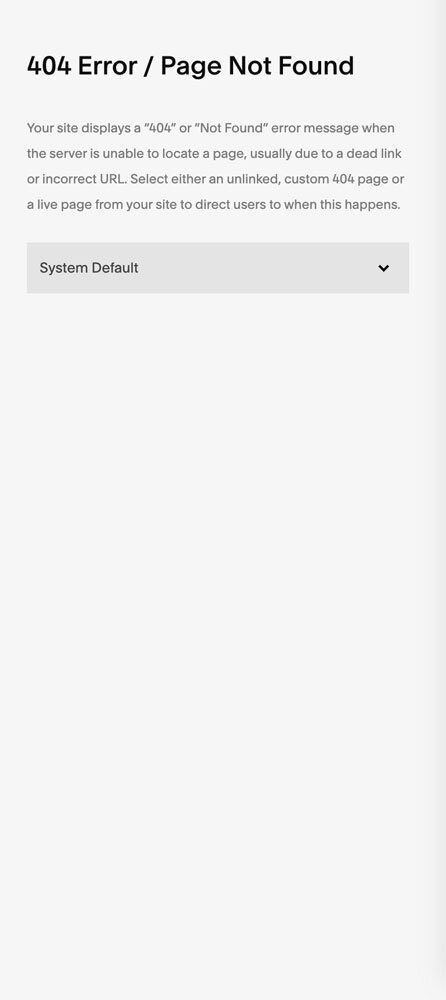
Once that’s set in stone, so-to-speak, you’re ready to set YOUR designed page as the Error 404, rather than Squarespace’s default page, which looks something like this:
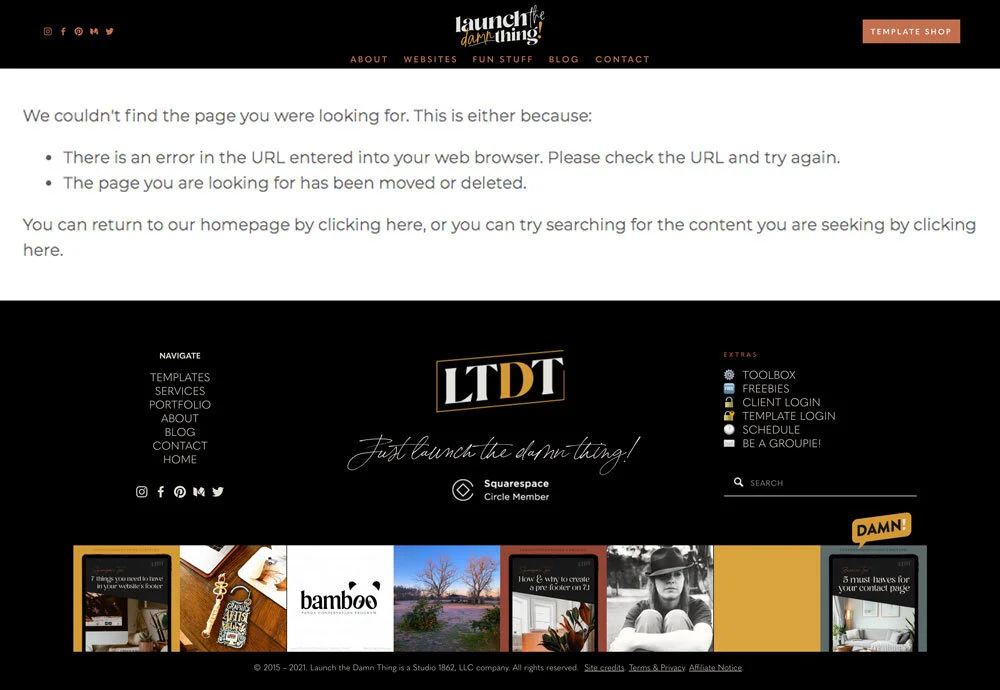
Yeah. Not super helpful, right? 😂 So, I’m glad you're fixing yours!
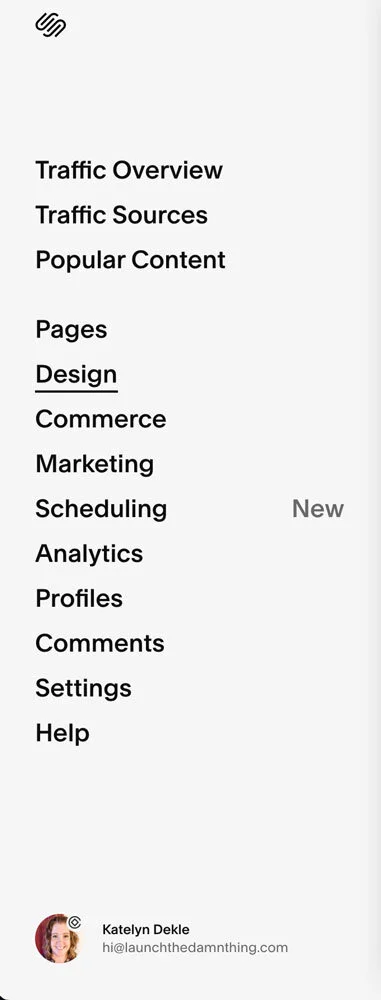
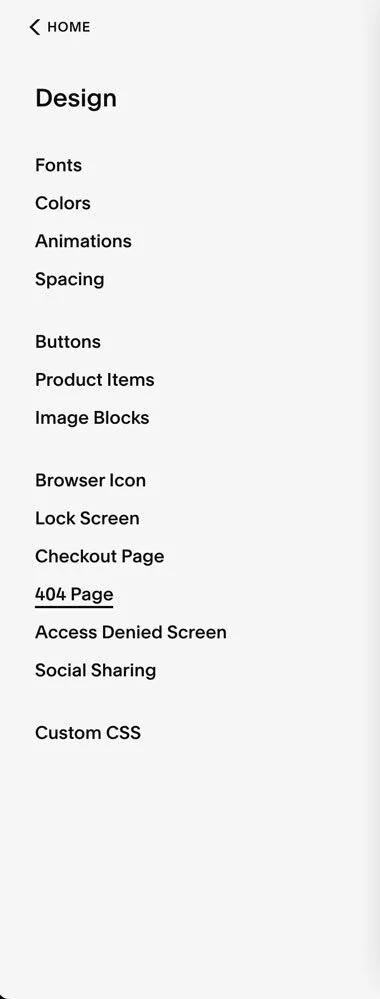
Next, go to your main menu, click Design, then near the bottom select Error 404. Use the drop-down menu to select the page you just created instead of their System Default. Save!

Now, on to how to work on fixing as many broken links as you can!
REMINDER! You should do this at least once a year, if not twice a year to keep up with it.
Fixing broken links
This one is fairly simple. Go to brokenlinkcheck.com and
enter your website’s URL,
the security code,
select “Report all occurrences of each dead link (may be slower)”
and Submit.
Let it do its thang. Grab a cuppa ☕ and wait for it to finish, or get started as soon as the first result appears.

Once it’s finished, it’ll give you a list of all the broken links it found on your entire website. If you have lots of blog posts it can take a few minutes. There will be a status at the bottom of the list it finds, and you can watch that as it crawls your site.

There’s also a handy-dandy little check box beneath the results list over on the right-hand side, that says “Disable page auto-scrolling” so it won’t keep bumping the page up or down as it adds to the list. If you want to start solving problems as it finds them, I’d suggest ya check that box so it you don’t lose your place in the list.
Once it begins finding links, here’s what your results will look like:
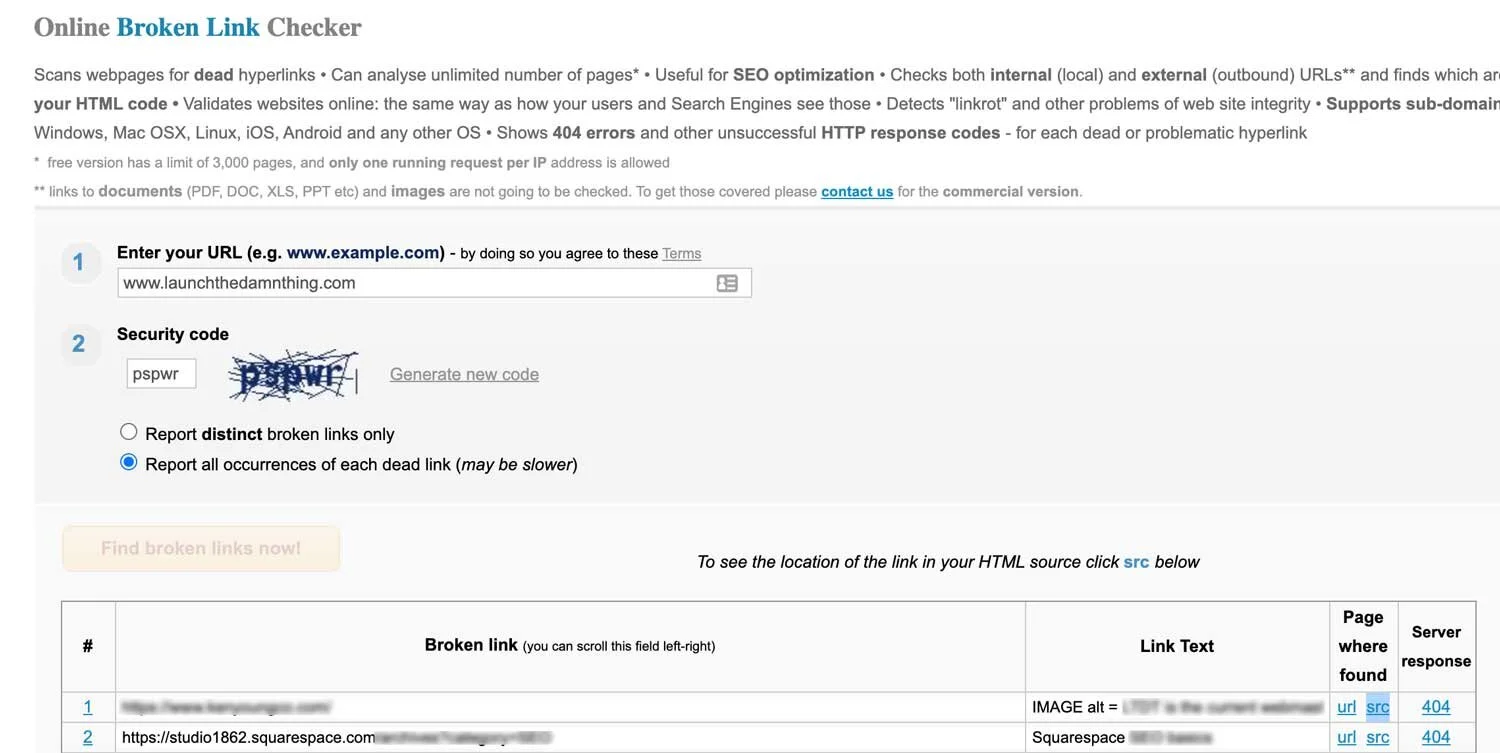
It’s fairly self-explanatory, but this list will show you:
the visual page URL where the broken link is
the URL link
the URL source HTML code
If you click this, it shows you the source code for the page and you can use that to search the code content to see where that link actually is if you’re having trouble finding it. Not familiar with code? Then this may not be that helpful for you unless you use the browser search function (Command + F) to search for the linked text or the ALT text for an image, etc.
And the type of server response after it realizes the link is broken
Next, start going down the list. Relink those items in your Squarespace editor, then come back & resubmit the broken link check to check that you have the all-clear.
Now you’re all set & your viewers will have a little help finding your shit if they land on a broken link in the future!