7 ways to use the Image Block in Squarespace

People love the idea of Squarespace, because it's so easy to edit. No developers are necessary; therefore, longterm, you save time & money in investing in Squarespace, whether you hire out the original design or DIY.
The one thing that people worry about is whether their site will look too much like the template, or too much like everyone else's Squarespace site, because of this template-based system.
The way around that? Get creative! With the right creative mind and the right tools, your site doesn't have to look like anyone else's –and I'm not even talking about using some code to customize it.
Let's investigate some other ways we can use the Image Block in Squarespace to make your site stand out!
7 Creative ways to use the Image Block in Squarespace
1. Uploaded Images (new or reusing) AND
2. Stock Photo Images (paid or free)
Okay, so these aren’t creative, per se, but you MAY have missed an update in Squarespace that allows you to access all the images you’ve uploaded to the website (plus paid or free stock photos) from within the Image Block. That is a new and exciting feature, that I dive into more in this post on how to Reuse Images using the Image Block.
3. Image as button
If you want to have a special button for a certain thing, you can design a new button, then export it as a PNG file (which allows a transparent background behind your design; JPGs don’t) and upload it as an image. Then all you have to do is link it to the the destination URL as you normally would link a Button Block on Squarespace, only you’ll be using the link feature in the Image Block settings.
To get there, you’ll add your Image Block; click Design in the Image Block Settings/Edit popup. From there, scroll down to Clickthrough URL and find the content or paste in the URL you want to link your new “button” to.
You can design the button in something like Canva, if you’re not a designer & don’t have design software, or even Affinity Designer (like Adobe Illustrator) or, obviously, in any of the Adobe products.
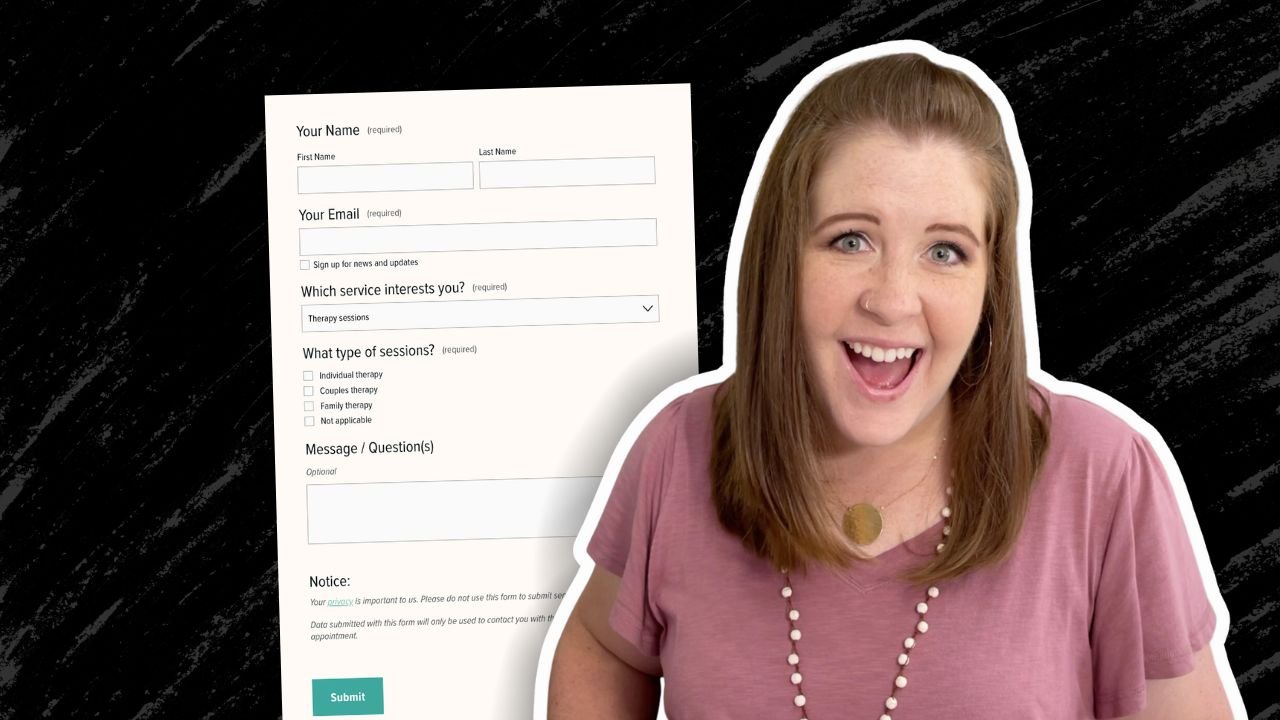
Here’s an example of a button I created, which links to my Contact page so you can see it in action:

4. Image as design element or icon
Images can also just be used as a design element on a page. A lot of people do this for icons on their services page or for blog categories.

design element
favicon or icon
5. Image as a text header
If you want to use a different font style (for a short bit of text, like a fun title, etc) for something really specific or special on the page, but don’t know enough about coding to code that new header text, you can type it out in your design app, export it as a PNG and upload it as an Image to Squarespace.
Here’s an image I created as an example:

I wouldn’t go crazy with this one. Squarespace limits your font choices to 4 (Heading 1, Heading 2, Heading 3 and Body text) for a reason: those limits keep the design consistent, which is key for maintaining consistency & professionalism in your brand.
6. Image as a section divider
Don’t like the way your Line Block looks? If you can’t whip up some CSS to change the way your template displays the Line Block, then you an Image Block instead, and upload a line you’ve created elsewhere!
Create it in Canva, Affinity or Adobe (recommended) apps, export it as a PNG (with no background color) and upload it as an image in the space you want. Ta’da!
Here are a couple I’ve created and used in the past on my own site:

single line, white
7. Uploading or embedding a GIF
A lot of GIFs are embedded, like those from giphy.com, but if you create one or have one you’d like to use and you have the actual .gif image file to upload, then you can do so with the Image Block. It will auto-play once added to your page. Nice!
If you’d rather embed it, then you’ll want to use the Embed Block. It’s SUPER simple, grab the embed code from the GIF you want, select the Embed Block and click Edit. Click the code icon (</>) in the right side of the bar where it looks like they want you to paste in a link, and a separate popup will appear where you can paste in the code for the embedded GIF. Click Save/Apply on that 2nd popup, then Save/Apply on the 1st popup, then Save your page changes.

Image Block
BONUS SEO TIPS TO REMEMBER:
✔️ Make sure you provide an alternate file name in the Image/Edit popup, beneath where you add the image to upload it, so that Google knows how to interpret your Image “Heading” (because it can’t read text out of an image very well, right?).
✔️ Make sure each image you add is a file size under 500KB, wherever possible, to ensure your website doesn’t become slow trying to load your new images! For more tips on how to optimize your images for web, read this post too!

Featured Freebie!
If you need help organizing all these free tips you’re digging up, you might need to be using a free project management app!
Check out my free PM Tool feature list to find the one that fits your needs best.
It showcases features across 6 different platforms, listing integrations, which features are only available for paid plans and more!
Websites don’t have to be complicated.