

How to organize fonts like a Pro
Table of Contents Show

📌 Pin it!
Designers end up having sooooo many fonts. It really gets ridiculous!
If you have thousands of fonts and you’re scrolling through them constantly searching for certain styles or that one you JUST CAN’T REMEMBER the name of… then you need my help!
It’ll take some time to get this system implemented, but if you do this now it will save you so much time later on as you continue to collect them.
❶ Organize your font files
Hopefully, you have all of your font files in the same area of your computer. Maybe even in the same folder?? 🤞🏻
No? That’s okay!
Do a search for all files with the .ttf and/or .otf extension and that should grab the majority of them all in one place.
On a Mac, you can do that by clicking in the search bar of any Finder window and type “.ttf” or “.otf” to search for those specific font file types.
On a PC, I’m sure you can perform a file search in a similar way. The font file format will be the same.
NOTE: Leave your System Fonts wherever they currently reside; on a Mac those will be in your System folder. The ones you’re actually looking for are in your user Library’s Home folder, which is the one you got to name when you bought the computer. If you have trouble finding it, open a Finder window, then press Command+Shift+H to go right to that folder.
Create a new folder & move all of your font files into that folder. Put that folder somewhere you’ll remember. I keep mine in my Documents for easy access, but you can choose where you want to keep yours.
Let’s get ‘em organized now that they’re all in one place! (Okay, so you don’t have to be as excited about organization as I am, but let’s get started anyway. They won’t organize themselves!)
I suggest doing this is by genre or style. Create a new folder, INSIDE your main font folder (the one you just created if you didn’t already have one), and label it something like “serif” or “handwritten.” Repeat the process for every style you think you have, then look at every font file and move it into the genre folder it’s closest to. (To make this easy, I open 2 Finder windows side by side; just drag & drop!)
If you end up having TONS of fonts in any particular genre/style, you can further organize them into different types of that genre. For example, scripts can be further organized into Brush, Calligraphy, Formal, Casual, Handwritten, Painted, Retro, etc. Do the same with any folder that starts collecting more than you’d want to scroll through at any given time.
My biggest folders tend to be Script, Serif, and Sans Serif, so those each have multiple style folder groups inside the main genre folder. (Don’t recognize these style names? Check out my free Font Pairing Guide for visuals on what these different styles look like, at a glance!)
Once you’re all done (prepare to spend some time on this if you have a few hundred/thousand files to go through!), then it’s time to move onto Tip #2!
❷ Font management software
What the hell is a font manager?
Ok, so what does font management software do –you ask?? It’s typically an app that handles turning fonts ON and OFF for you so that they’re not ALL constantly running in the background of your computer.
When you start to collect a lot more fonts than what initially came on your computer, those fonts start to slow down your computer because it has them active & running in the background all the time, for every application, even when it’s not necessary.
Good font managers will only activate fonts used in the documents you open and deactivate them either when you close that document or quit the app you were using. They also deactivate when you shut down your computer, so it will start fresh on reboot.
Recommended Apps:
These first two I’ve used myself so I’m comfortable recommending them to you.
CONNECT FONTS DESKTOP (Mac/Windows) = $108+
(1 license/computer)
Previously called Suitcase Fusion, I used it for years (literally 10 years or more) and it was always pretty reliable.
I quit using Suitcase after a big UI (user interface) upgrade in 2016 or so that I didn’t like, and many other designers didn’t either. I also didn’t love the annual subscription.
The features were the same as before, but the way you searched through and saw previews of all your fonts changed in a way that actually made it harder (for me) to use the app. Many designers were complaining in their forums, but Suitcase didn’t seem to have any inclination toward working on solutions for the complaints.
I’m sure they’ve changed a lot since then and preferences are totally a personal preference. Start with a free trial & see if you like it. It was pretty much the industry standard font management app & was also the one my college graphics professors chose to use both personally & professionally between multiple university graphics classroom computer labs.
RIGHT FONT (Mac only) = $50+
(1 license/computer)
After realizing I wanted to try something different from Suitcase/Connect Fonts, I landed on a cheap little gem called RightFont.
This is my personal preference & what I use for my own business. I tested some of the others (listed below) using their free trials and still came back to RightFont because even being completely new to it, it felt familiar and comfortable because it was designed to match the Mac operating system.
You can buy this one for $50-ish last I checked; it does all the same things I was using Suitcase/Connect Fonts for AND it also feels like a native Mac app which is nice. It’s also more affordable and easy to manage because each license is a one-time payment. When upgrades are introduced you have the option to pay a reduced price for the update or keep your existing version as is.
Again, last I checked, you can try RightFont free for a week or two, so try it out & see if you like it as much as I do! If you don’t, here are some other options to check out & vet for yourself:
OTHER OPTIONS
I’ve not used these extensively myself; only a free trial at the time of posting for research purposes. Names & operating system details may be different.
Font Explorer Pro X (Mac)
Font Base (Mac/Windows/Linux)
Typeface (Mac)
Font Expert (Windows only)
NexusFont (Windows only)
Wordmark.it (browser)
Flipping Typical (browser)
How to get organized within the app
Remember how you organized your font files into folders? Yeah. You’ll need to do that in here too. 😁 It’s a pain in the ass, I know, but you’ll thank me later. Trust me!
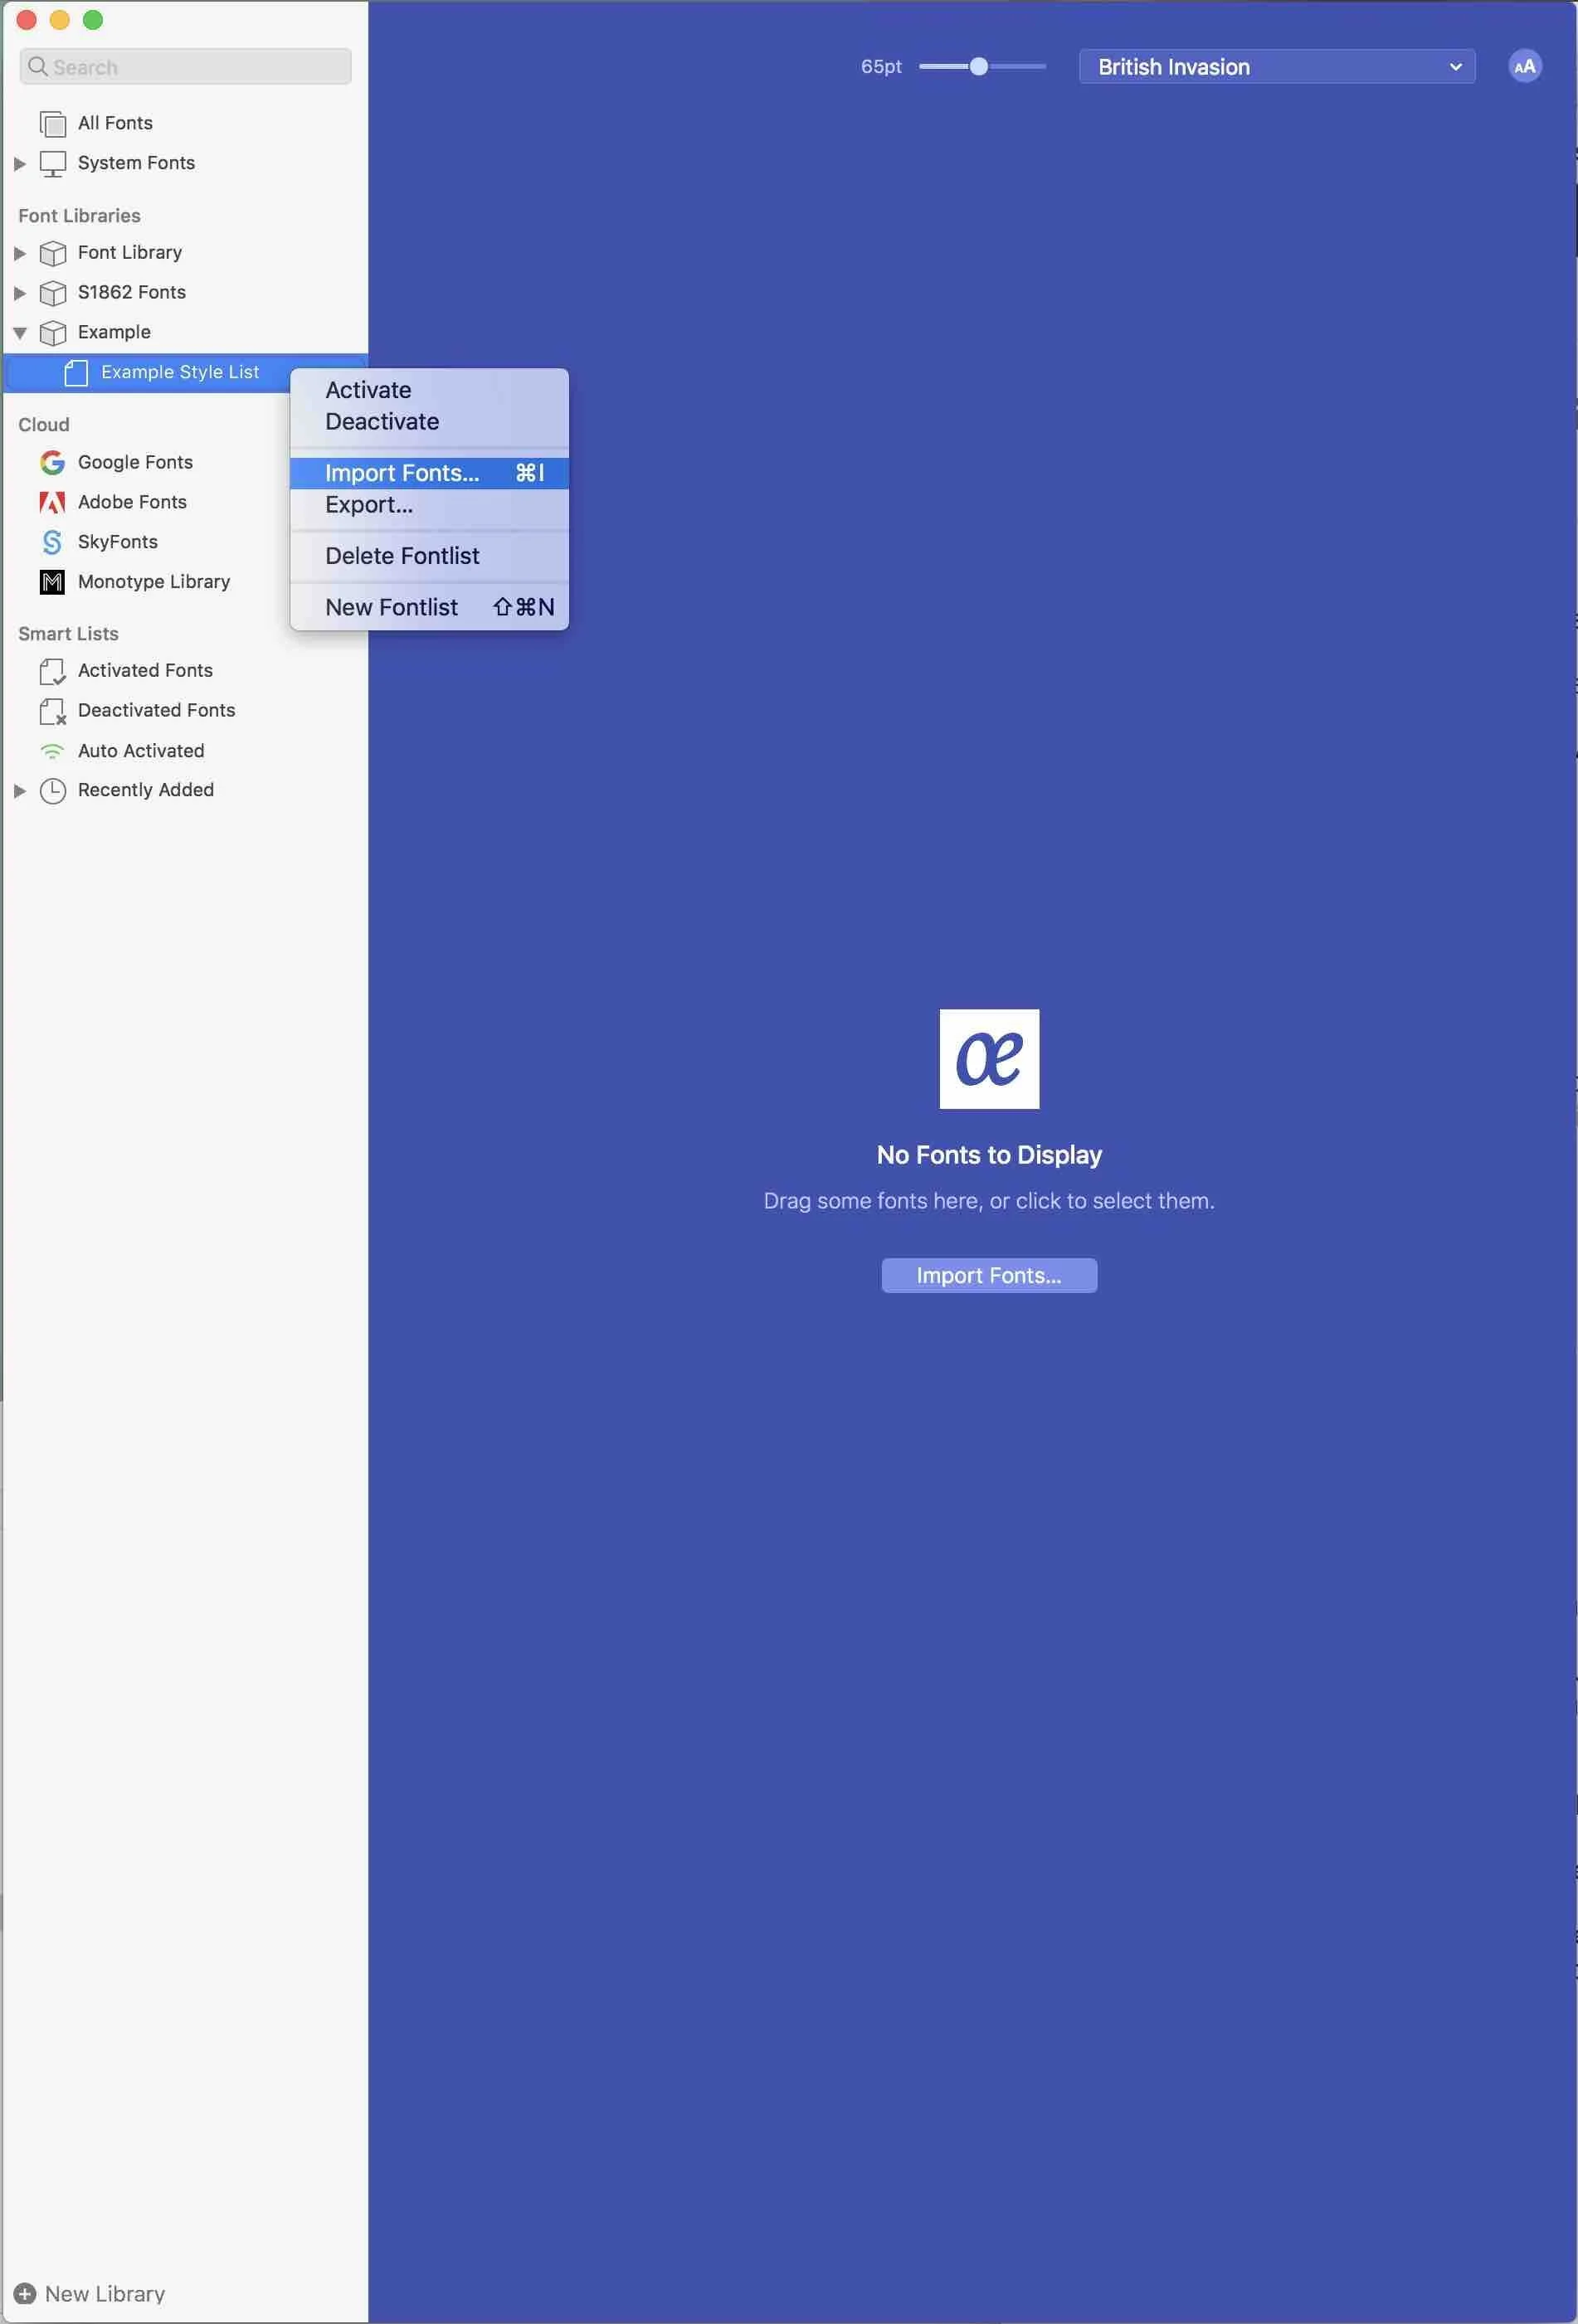
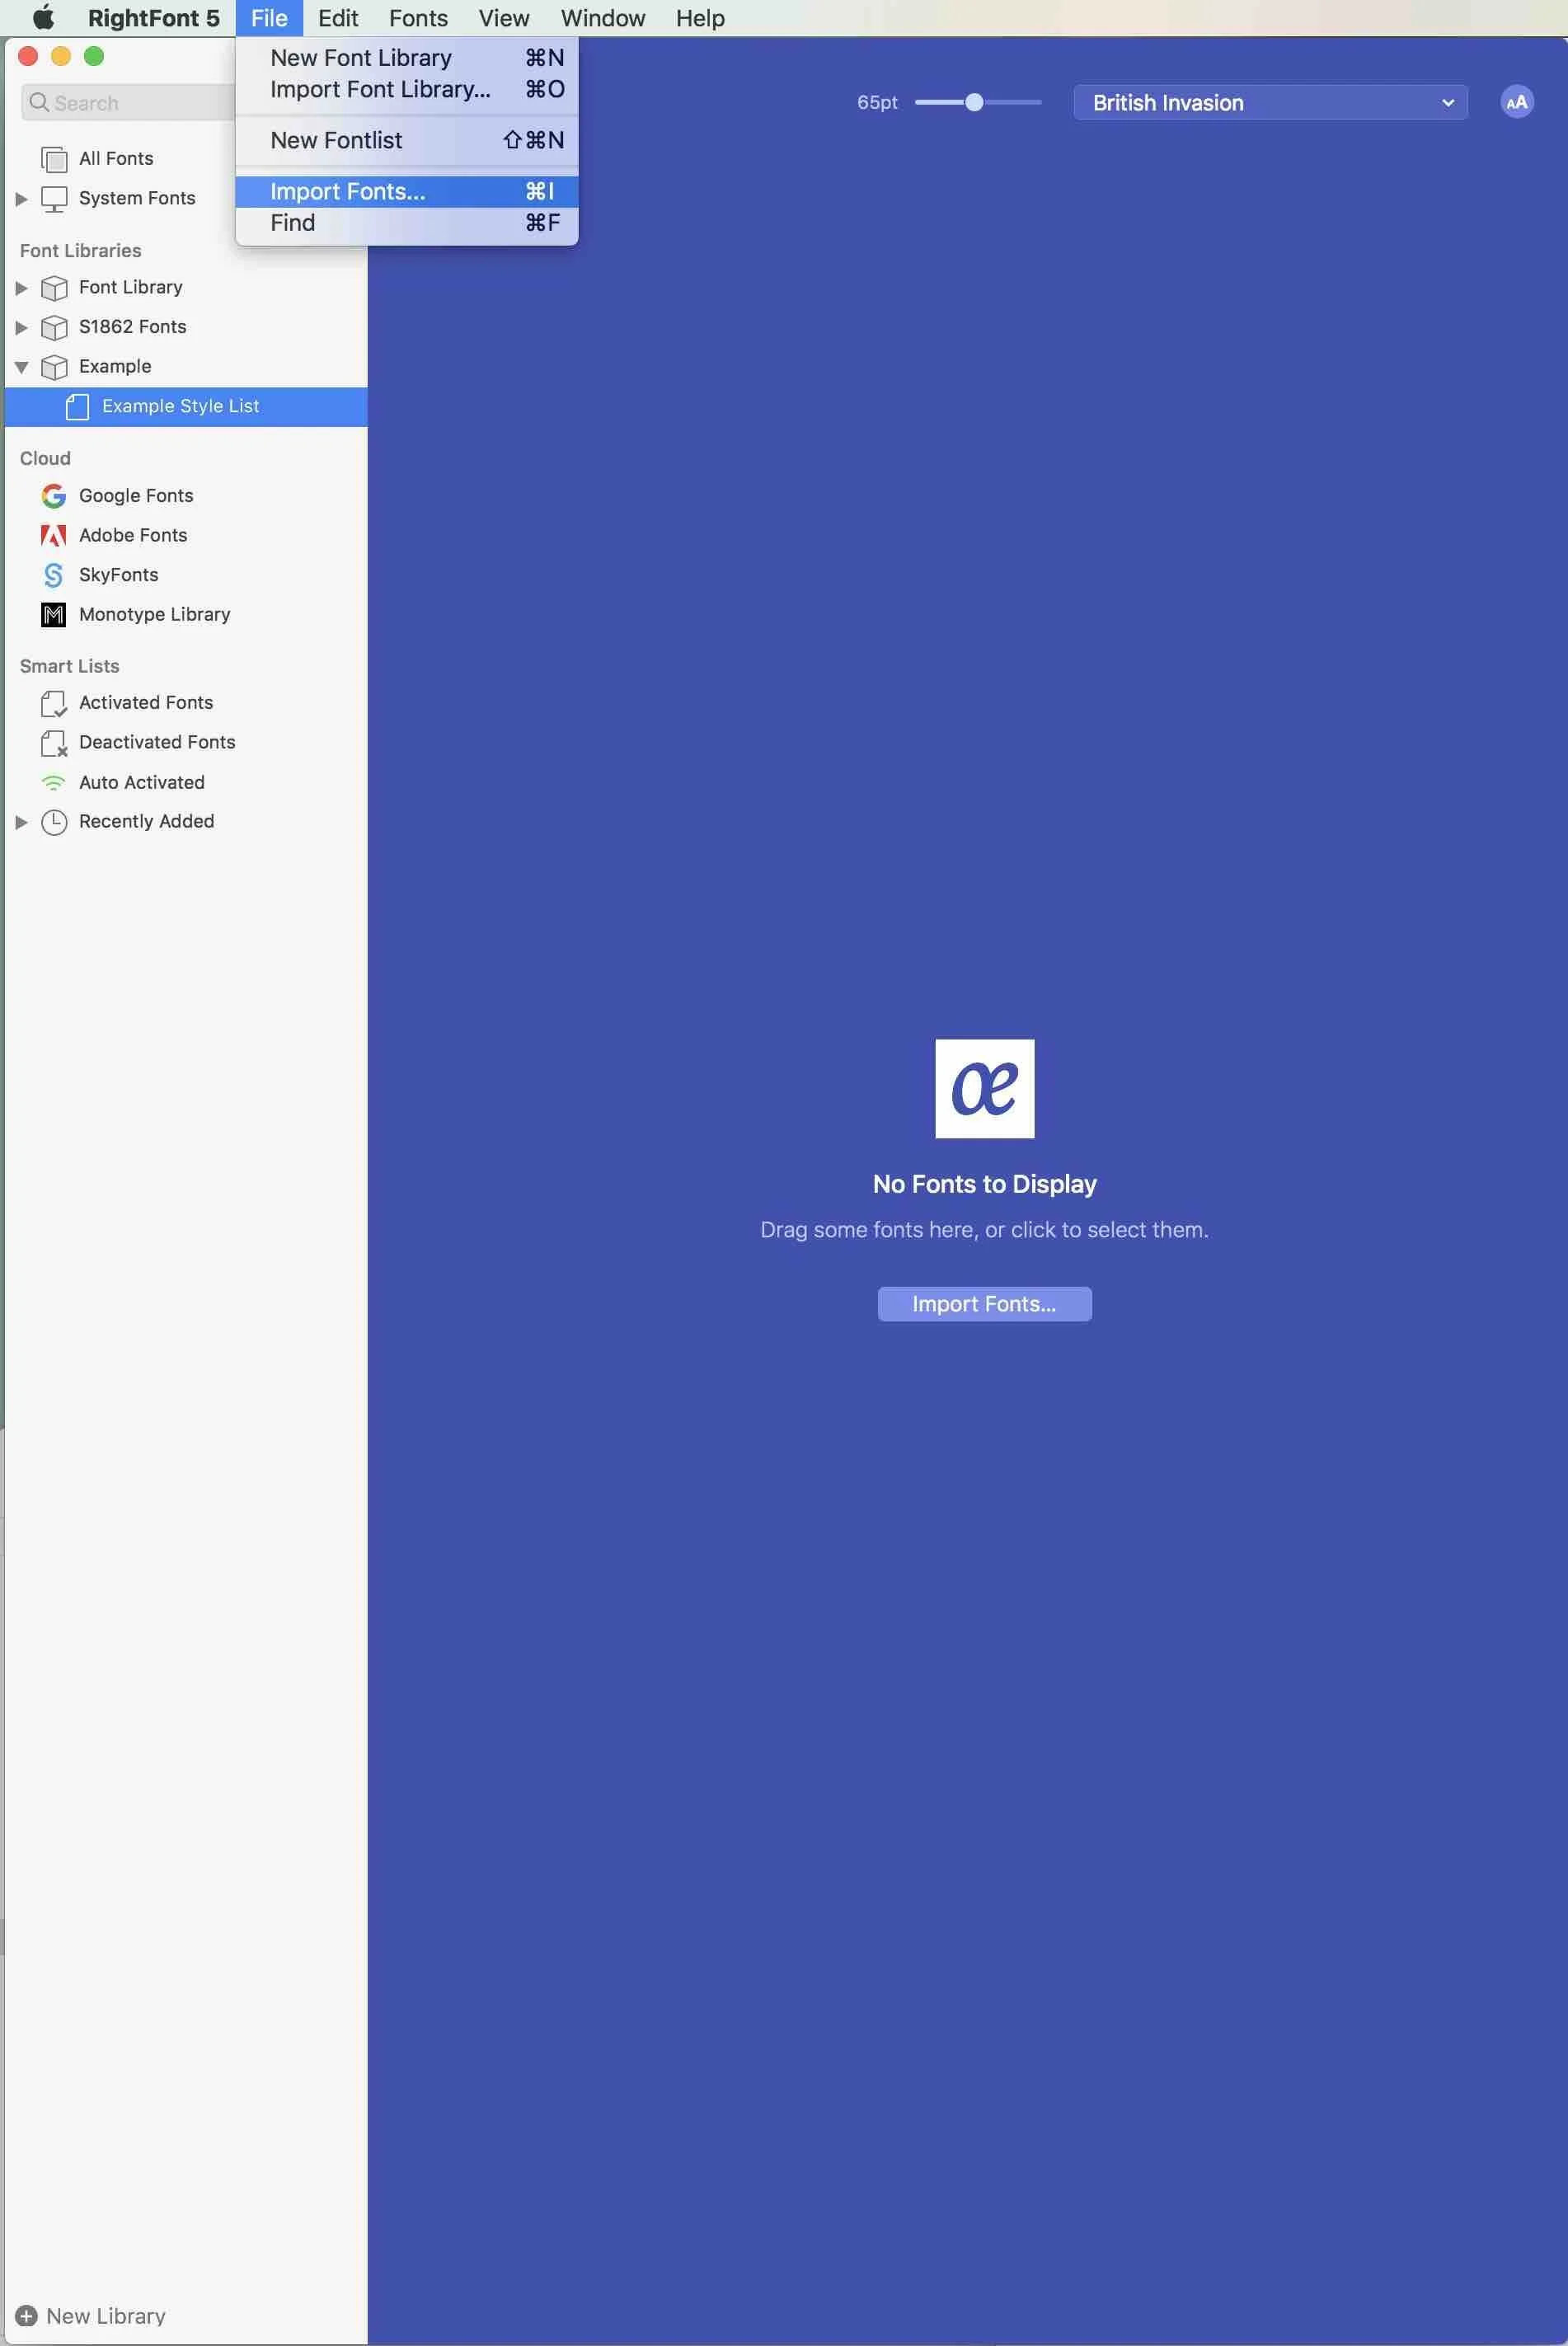
Different apps have different ways of actually creating new Font Lists within their app, so I won’t show you how to do this specifically in each app. I will show you how my RightFont app works though since it should be similar across all the others.
Here are some screenshots (below) showing how to create new Font Lists in my font management app, RightFont.
To create a new Library, you’d just click the “New Library” button in the bottom left corner.
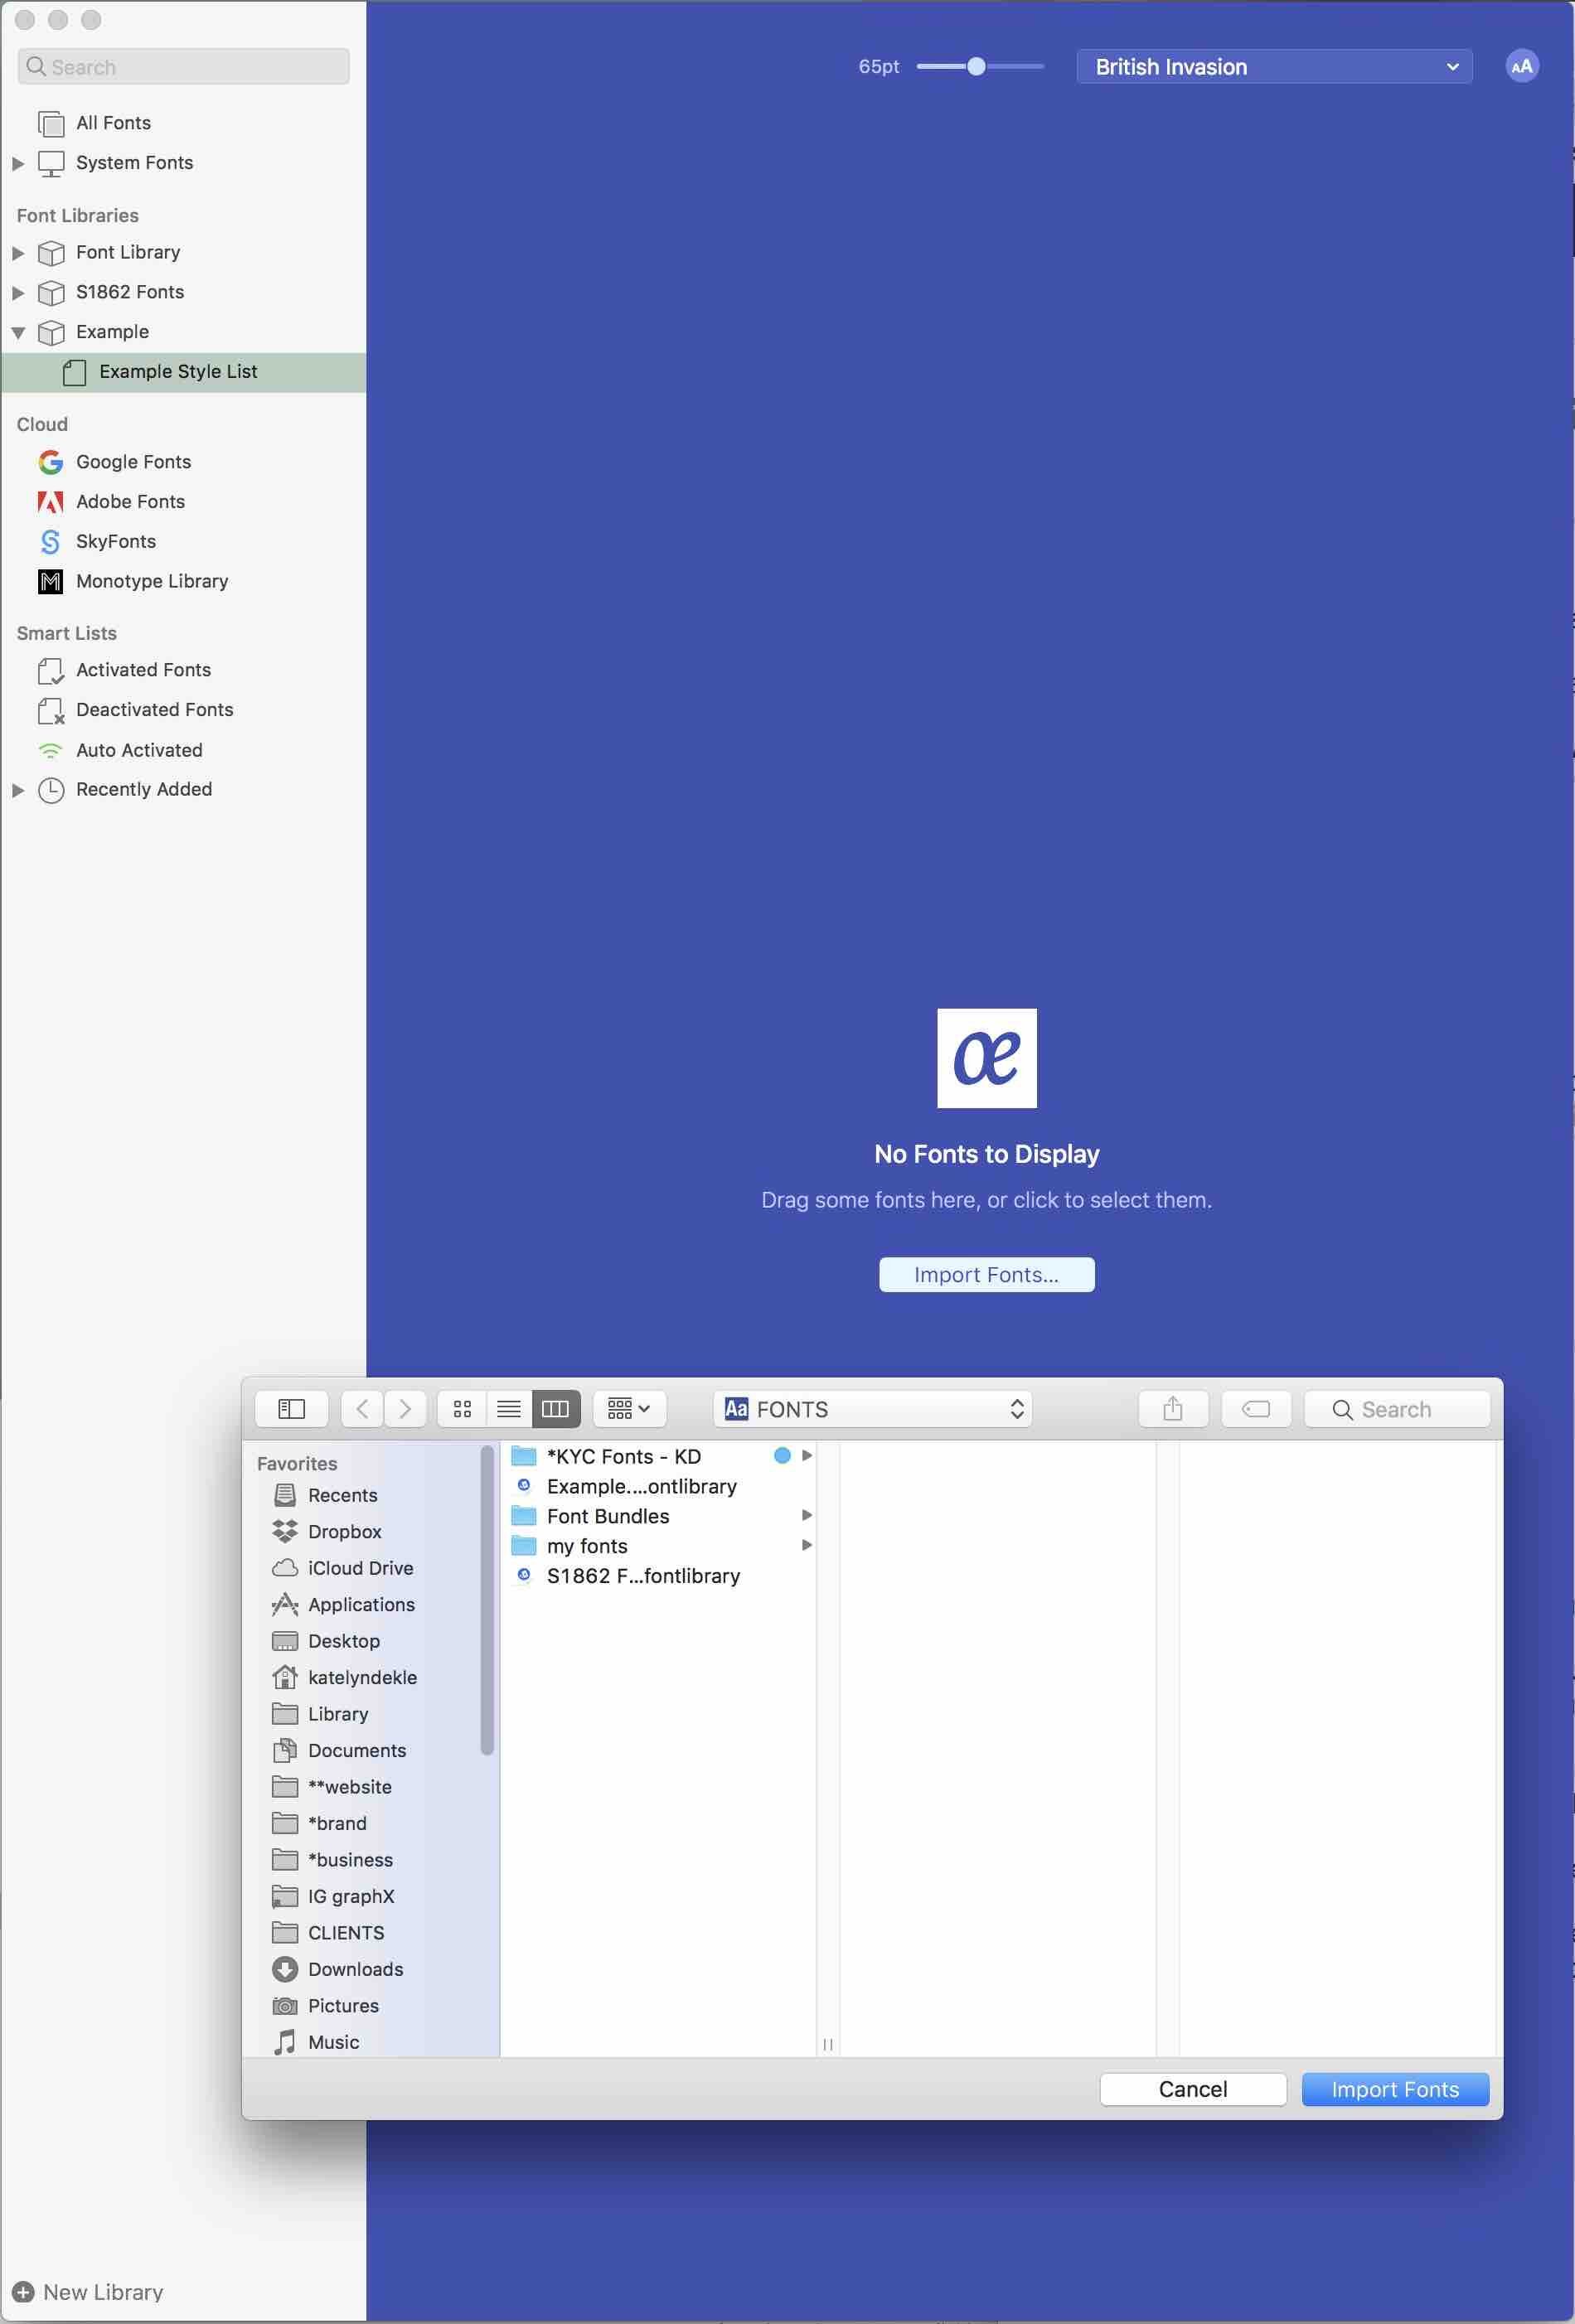
DO NOT add your fonts to the System fonts folder. You want to keep those separated from any fonts you’ve collected yourself.
Once you’ve created a new Library, you can create as many New Fontlists as you want inside that.
Create a New Fontlist for each style/genre of fonts that you have in your collection & try to keep the name the same as the folder where those font files actually live, just so you don’t get confused.
You can create several New Libraries too.
I have one Library for my brand (LTDT Fonts) for easy access.
I also create a New Font list inside that LTDT Font library for fonts used during active client projects, so I can activate them all at once or see the list if needed; these lists are named for the client.
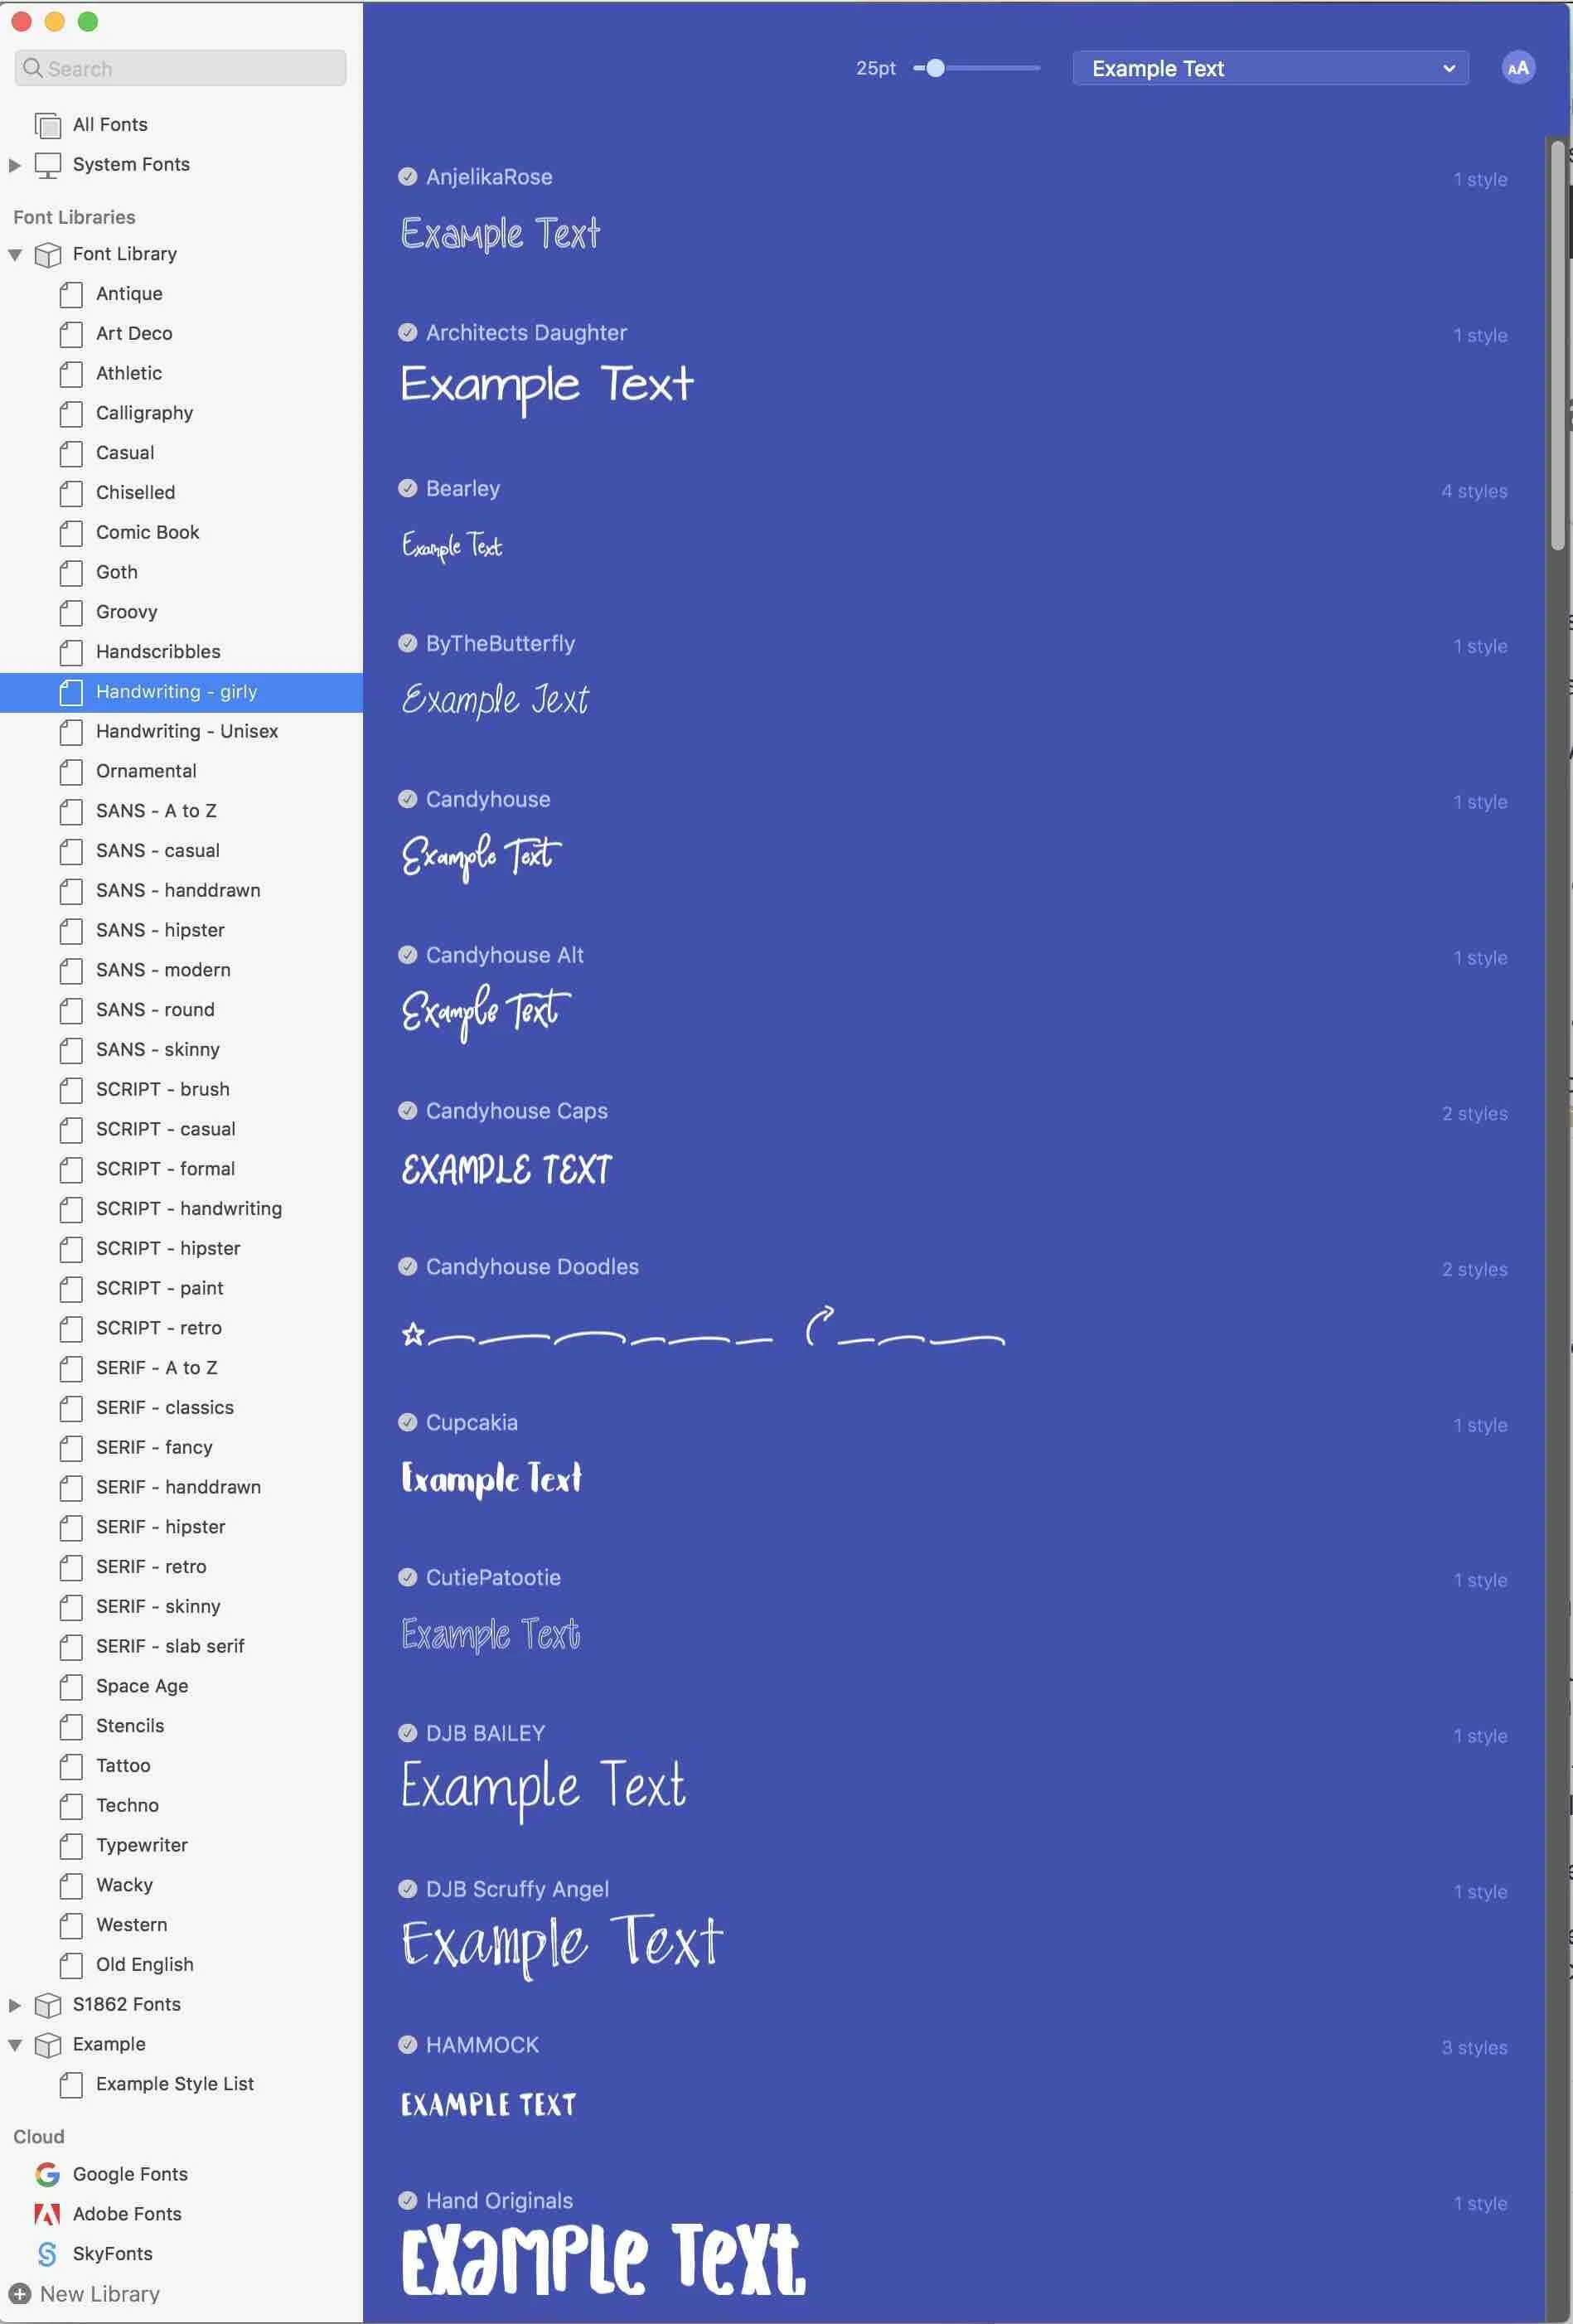
As you can see, I got a crazy-organized with mine. I’ve been collecting fonts over a 10-15 year period of time though, so I have lots to keep organized.
What about going forward?
From now on, any time you add a new font, put the downloaded file into the appropriate file folder on your computer and also add it to the Font list of the SAME NAME in your font manager. That way you will always know where to find it without scrolling through every single one!
Now that all of that is done, you can pick any genre and ONLY look at fonts in that style when you need them. It makes finding the right fonts so much faster!
Need a sans-serif but in a hand-drawn style? A classic Serif font like Garamond? Maybe just an athletic style block, or an ornamental font like FontAwesome that’s just made up of logo icons (like Facebook, Pinterest, etc.). Now you know exactly where those are and you’ll be scrolling a lot less to get to the perfect one.
BONUS!
How do you automatically remove the .zip file after expanding the font file? (for Mac users)
#1) Click on your Search bar in the far, upper right hand corner of your screen (or any Finder window) and type “archive utility” in the search bar. You’ll see an icon that looks like this:
#2) Double click to open the app. (When it opens, it won’t look like anything happened, but just watch your Task Bar’s info change.)
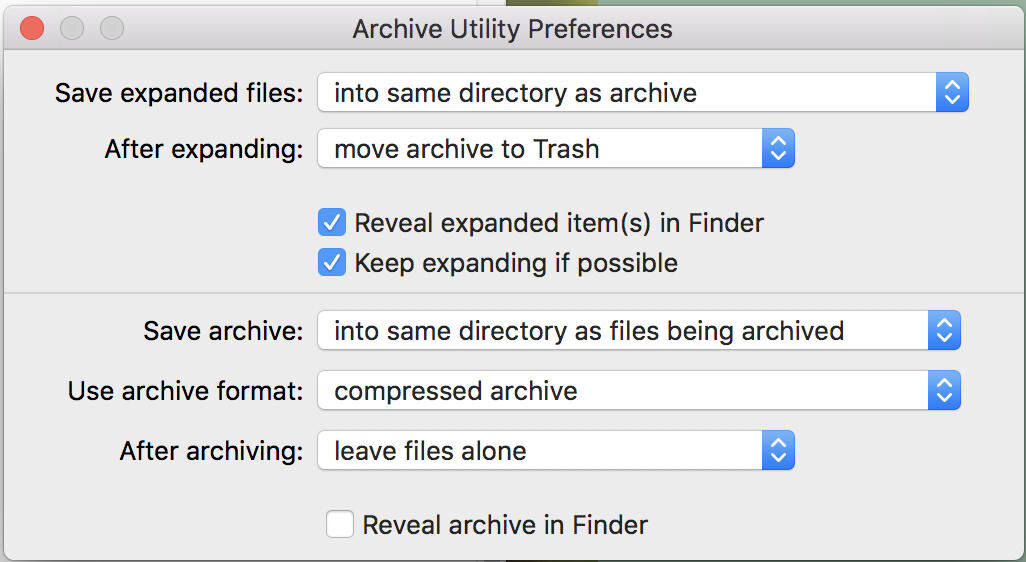
#3) Once it’s open go to Archive Utility < Preferences (in the app’s task bar menu).

#4) Once that window pops up, change “After Expanding” (the 2nd from the top dropdown option) to “move archive to Trash” which just means the computer will automatically move the .zip file to the trash after you’ve expanded or unzipped it. Here’s what that window will look like:
#5) After you’re done, click the red X and close the app. It will apply immediately (without needing to shut down or reboot your computer).
Next time you download a font file or anything that’s been compressed into a .zip file, the contents will expand and the extra .zip file will be moved to the trash automatically! No more duplicate files to deal with. YAY! 😉 (Of course if you NEED to keep it, you can always go retrieve it from the Trash bin.)