

4 ways to use the Summary Block in Squarespace

The Summary Block is one of the most versatile blocks Squarespace has to offer.
Want to display a list of new posts, events, or shop items that automatically include new additions when added? Meaning, you don’t have to go back and add the new post/event/shop listing everywhere, every time.
What about those nice rotating reviews with the arrow navigation? Yep, that too.
Let’s walk you through how to set these up (or check out the video at the end of the post)!
How to use the Summary Block in Squarespace
I’ll start by saying that being able to narrow down what shows up in the Summary block is GREATLY improved if you have a good tags & categories system in these blog posts, events and shop items. Reviews too, but I’ll explain that further down in #4.
By that I mean, if you use the built in Events Calendar for your Squarespace website, then make sure you’re categorizing each post with categories like event types (live music vs. DJ vs. open mic night, etc.) and tags maybe with the name of the band that’s playing or the comedian who’s doing comedy night that night.
For Blog posts, categories would look like the different topics you talk about, and tags might be the name of your specific blog post.
You could go even further and tag blogs or events with months or years, so that you’ll be able to group some things together by date, month or year, rather than topic. Think outside the bun here!
For Shop items, categories would be like apparel, jewelry, etc., and tags would be shirts, earrings, rings, etc.
So––categories are more vague descriptions and tags are more specific to the item itself.
Now that you got that, let’s dive in!
BLOG
If you want to display recent posts at the bottom of each blog posting AND have them update automatically across your entire blog, and anywhere else across your site, then the Summary Block is your go-to for this.
Assuming by now you have your blog categorized & tagged properly, you’d just add a Summary Block to the bottom of each post ––specifically the Carousel Summary Block.
It’ll look something like this to start with:
In the Edit window, under Content, choose Blog (for it to show up here, you have to already have a Blog-specific page type created in your website).
Next, select the Layout tab in the Edit window.
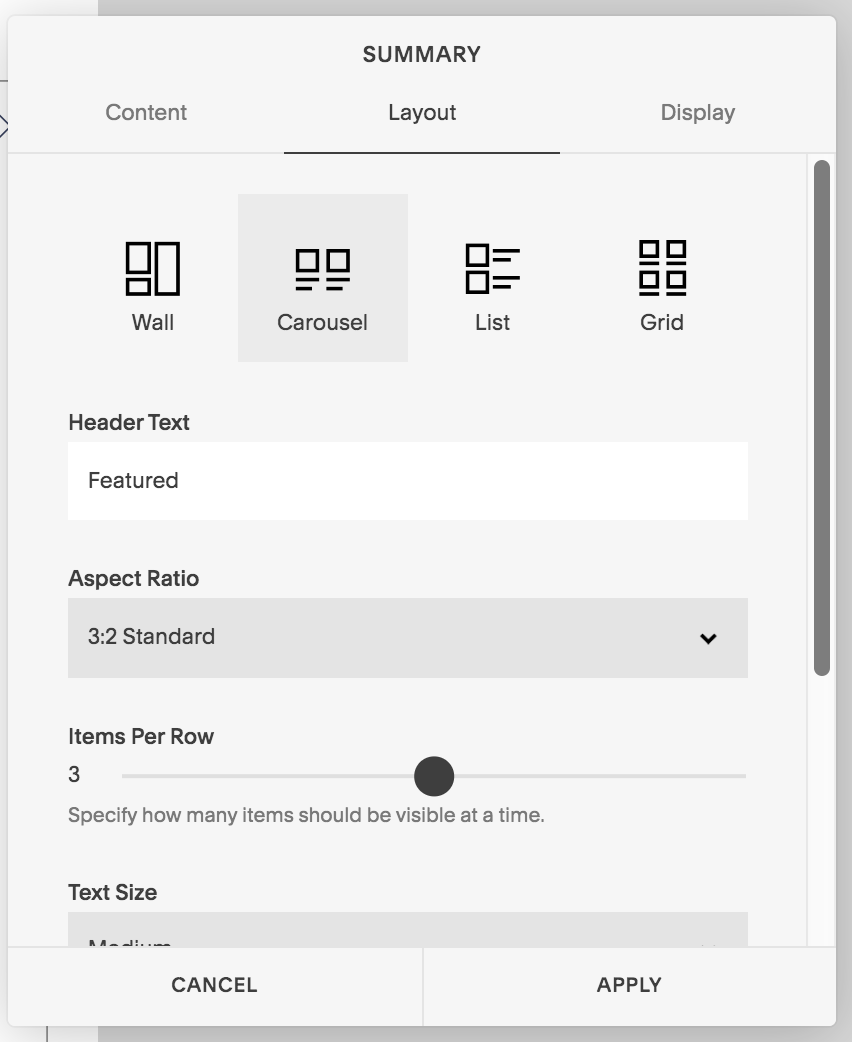
top of the Layout tab menu options

bottom of the Layout tab menu options
If you forgot to choose Carousel in the Summary Block options, you can always (also) do so at the top by choosing the icon inside the Edit window.
The Header Text allows you to name the block IF you want to; something like “More Like This” or “Upcoming Events” or “You might also like” – depending on how you’re using the block and on what page. If you don’t want to have a title, just don’t put any text in that space.
Next is the Aspect Ratio for the images. I usually choose Auto when available, since I size my own images to be the dimensions I want when I upload them. If you don’t you can choose from the other options here to keep your images horizontal, vertical, or square.
Items Per Row – I’m gonna say this is self-explanatory. 😉
Text Size lets you dictate how large the excerpt text appears if you include a title/description with your images. I usually don’t because I like mine to be cleaner-looking and my intros to posts aren’t usually that short.
Text Alignment – targeting the excerpt text and again, that should be self-explanatory.
MetaData Position – this is where you want something like the tag, category or date to show up, if you choose to show them.

top of the Display tab menu options

bottom of the Display tab menu options
Next, select the Display tab in the Edit window.
Here you’ll be able to select the total number of items to be displayed within the block (up to 30 at time of posting), whether each item shows the title, thumbnail (image), excerpt, and read more link.
You can also dictate what the Primary & Secondary Metadata will be (date, category, tag, etc.) or choose none if you don’t want to show anything for either.
Next you choose how to filter the items by Category and/or by Tag. This is where you’d type in one of the categories you created for your blog, in my case the Summary Block at the bottom of this post is filtered by Squarespace posts, since that’s relevant to this post.
You can narrow it down further to a single post, but that may defeat the purpose for this type of use. After all, we’re trying to display other posts (plural) like this one, right?
You can also mark each blog post as a featured post either when you post or after the fact by editing the individual blog post settings. This is helpful for creating a “most popular posts” Carousel, which only displays the “Featured” posts, which you choose. Most people select these based on which ones get the most comments, likes, shares or page visits, etc.
When you’re done, click Apply and Save the page you’re editing for good measure.
Now you can do the same thing on your home page, or anywhere else on your site, where you want to show a select group of blog posts!
EVENTS
Since the event calendar listing page works the same exact way as the blog posts page, I won’t go through all those same steps again.
On the home page, you could add a Summary Carousel for Upcoming Events, Live Music, Workshops, Speakers, Live Events, Classes, or whatever you use the Events Calendar for on your site!
Remember if you don’t choose a Category to filter by, it will display everything within the 1-30 items you tell it to show in the Display tab.
SHOP
This one can be used a little differently, but adding the Summary Carousel itself will still have the same steps as shown above in the Blog section.
Let’s say you have a merch shop for your business or your band, or whatever. At the end of each individual listing you can use a Summary Carousel to display other items you think the viewer might be interested in, if they’ve already clicked on that listing.
For example, if you sell tshirts with your logo printed on them, and you also sell caps with your logo, you could tell the Summary block to also show your selection of hats at the bottom of the shirt item listing to keep them browsing in your store.
If you sell digital items like downloads of some type, then maybe you also want to show another category that’s relevant or related to that individual listing, to pique their interest & see if the viewer will continue exploring the shop.
Think of this as a Call to Action button at the bottom of the page. It tells the viewer how to move through that area of your site & shows them where you’d like them to go next.
REVIEWS
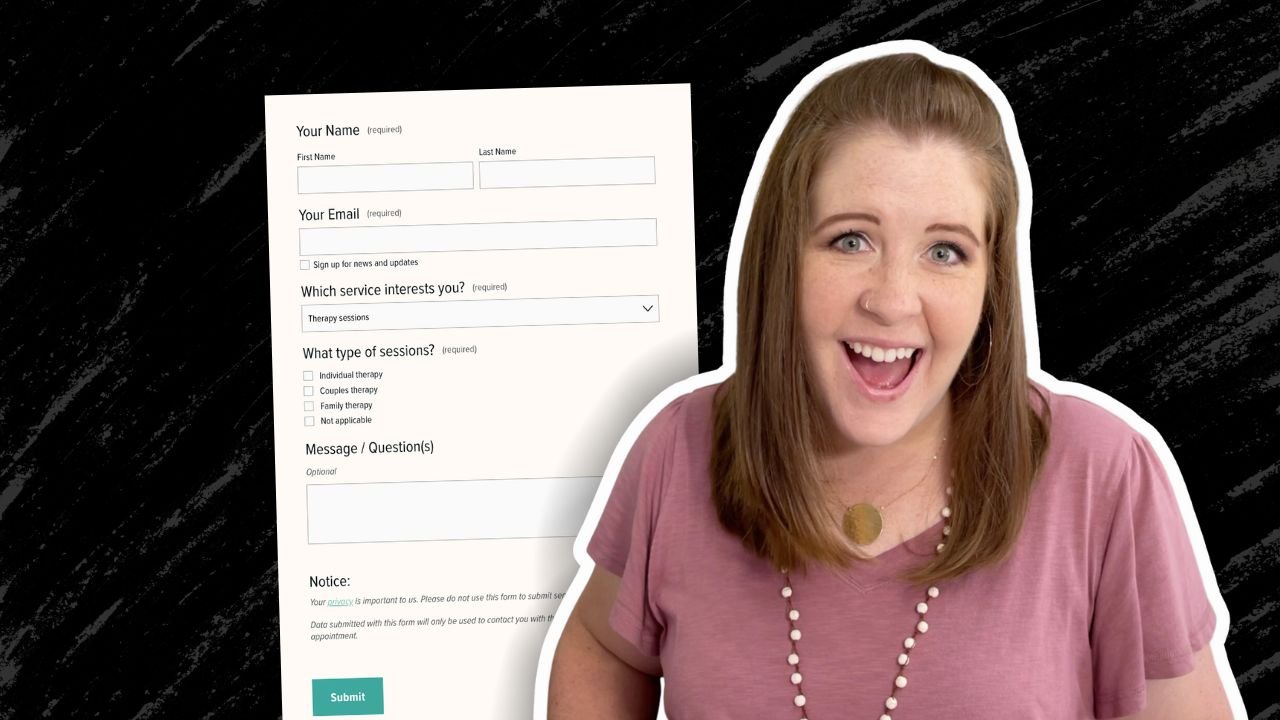
Reviews are a little different, because in order to use the Summary Block to display them they have to be using a blog or event page-type in your site. Meaning, you’d create a new (entirely separate) Event Calendar or Blog page specifically for Reviews/Testimonials and name it as such.
Each “post” or “event” that you’d put on that page, becomes an individual review, and gives you the ability to only use an excerpt, or the entire review inside the “post” or “event” page, a thumbnail, a tag and a category.
Go create the new page, add some posts/events (1 per reviewer) and use the tags & categories to organize them.
Categories would be the type of work done, and the tag might be the reviewer’s name or the company’s name; that will allow you to filter the Summary Carousel down to specific types of reviews as needed.
For example, this Summary Carousel only displays my website client reviews:


I have more reviews available, so I could filter it down to Branding or not filter it at all.
The only caveat is that it will list them by date entered/added, so newest will always be first. If you ever want to change the order, you’ll have to re-publish that review on a new day –not just save changes, otherwise it will just save edits & keep the review in the same place.
This means that the latest review you’ve added will always show up first (everywhere), and that goes for each category you have. So when I display website reviews, it will always display Anna’s first, unless I add one before it, or re-publish an older one to put it in front of hers with a newer publish date.
To use a style of text other than normal, in the post Editing Options, in the Excerpt, you’d use Header 1, 2 or 3 instead of Normal. That’s the text that shows up as the Excerpt in the Summary Carousel Display options. Not the whole ‘post’ itself.
With reviews, you can leave the entire ‘post’ empty if you want, or go into more detail about the working experience with that person if you want. Totally up to you!

Want to see it in action? Check out the short video below.
Websites should be easy to maintain.
Is yours?


★★★★★
Where do I start? I have been updating & designing my website by myself since the dawn of time. While I had a logo, there was no brand. Consistent fonts, colors, etc. HAAAA!
I am so thankful I found Launch the Damn Thing®! Not only do I have a KILLA brand, fonts, & colors - THAT WEBSITE IS EVERYTHING!
If you were to ask me if it was worth the financial investment, I would say that I can not put a price tag on the final product. You went above and beyond! The additional factors you’ve added SURPASSED my expectations!
Being a boudoir photographer, I do my best to showcase all bodies. I want everyone to be represented. Thanks to Katelyn, my brand + website are ME ––my business is FINALLY represented. 😭